
KaHero POS allows you to personalize your receipts by adding your company logo as a header. This simple yet effective feature helps you create professional-looking receipts that strengthen your brand identity.
Adding Logo on your Receipts video tutorial
Adding or Changing Logo Receipt in POS
Let's Get Started:
💡
You should update your Receipt Settings BEFORE starting your shift to ensure the changes are reflected on your receipts.
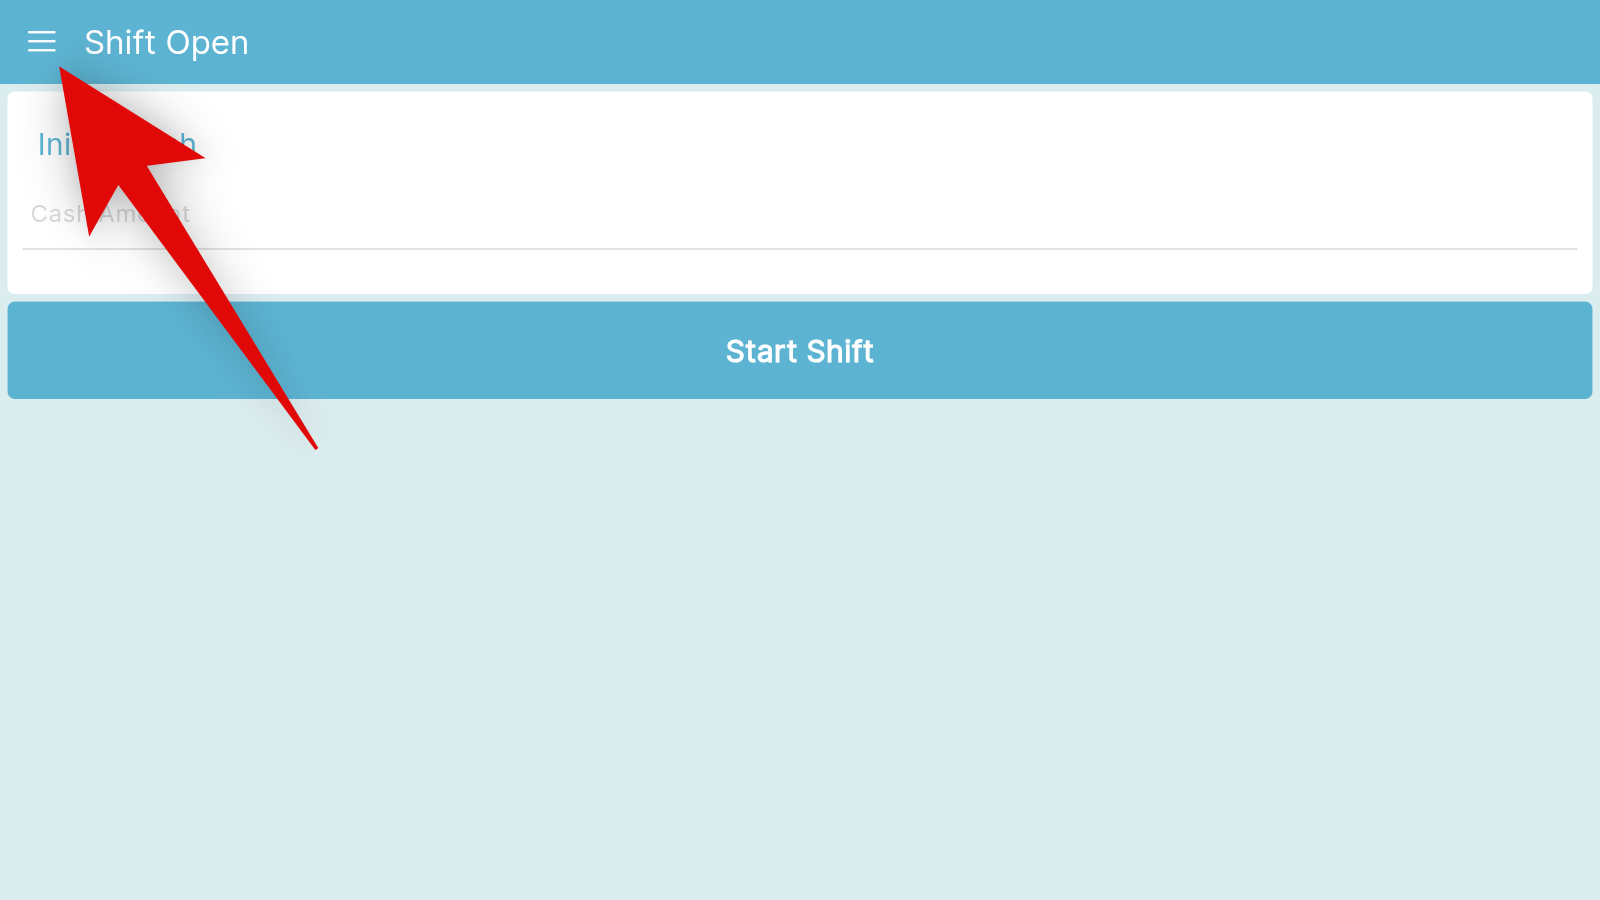
- Tap on the navigation icon (☰) or Navigation Menu.
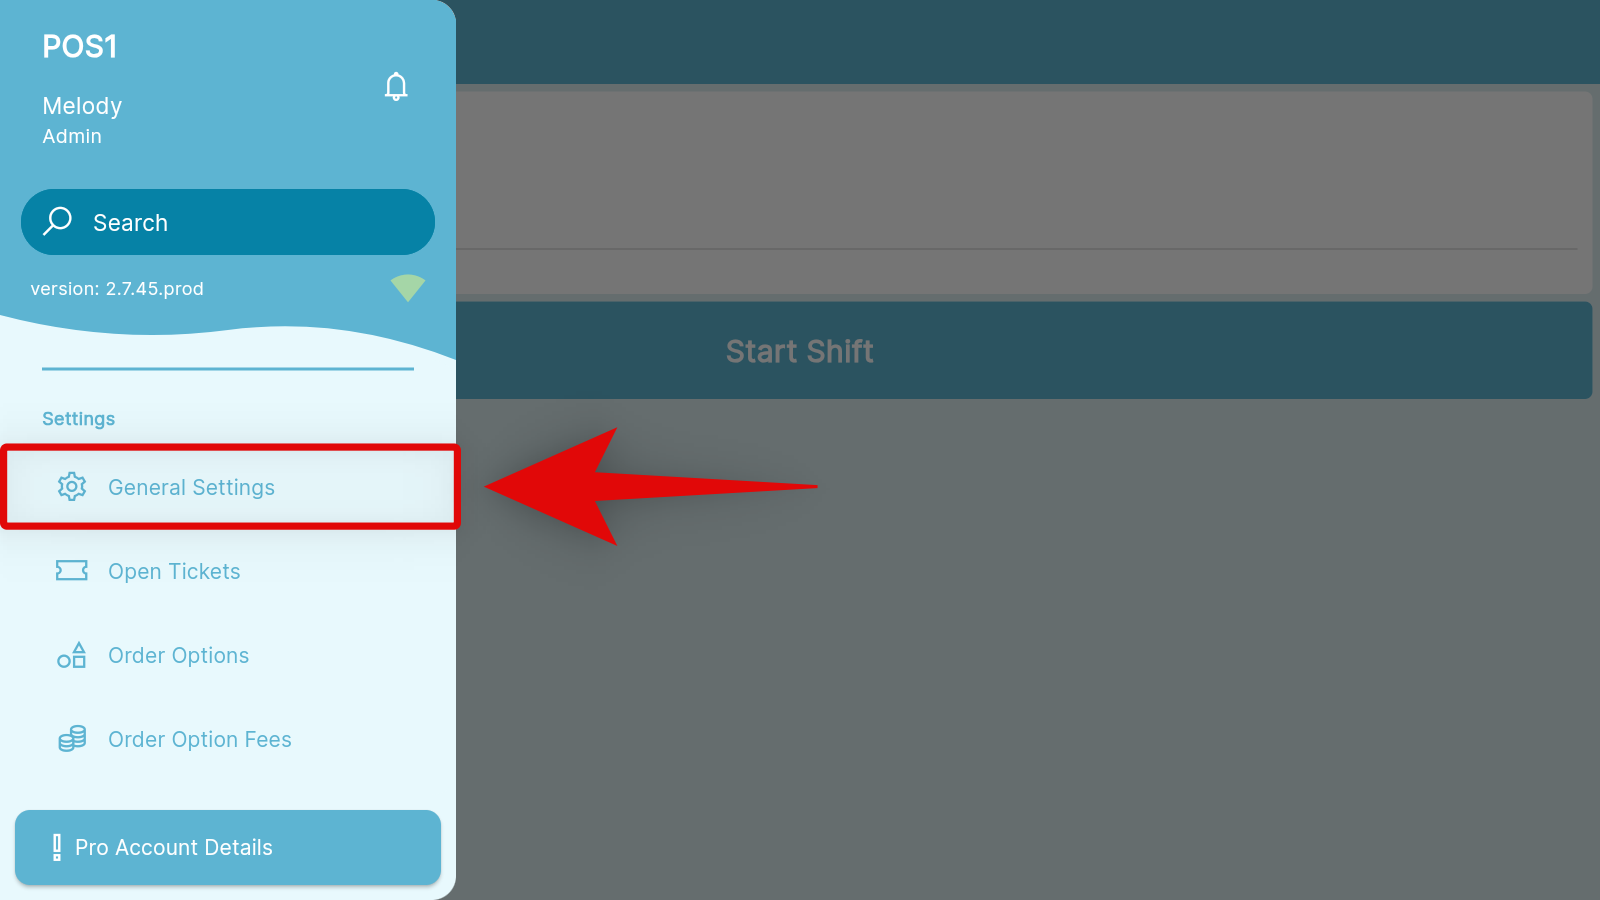
- Scroll down all the way to Settings > General Settings.
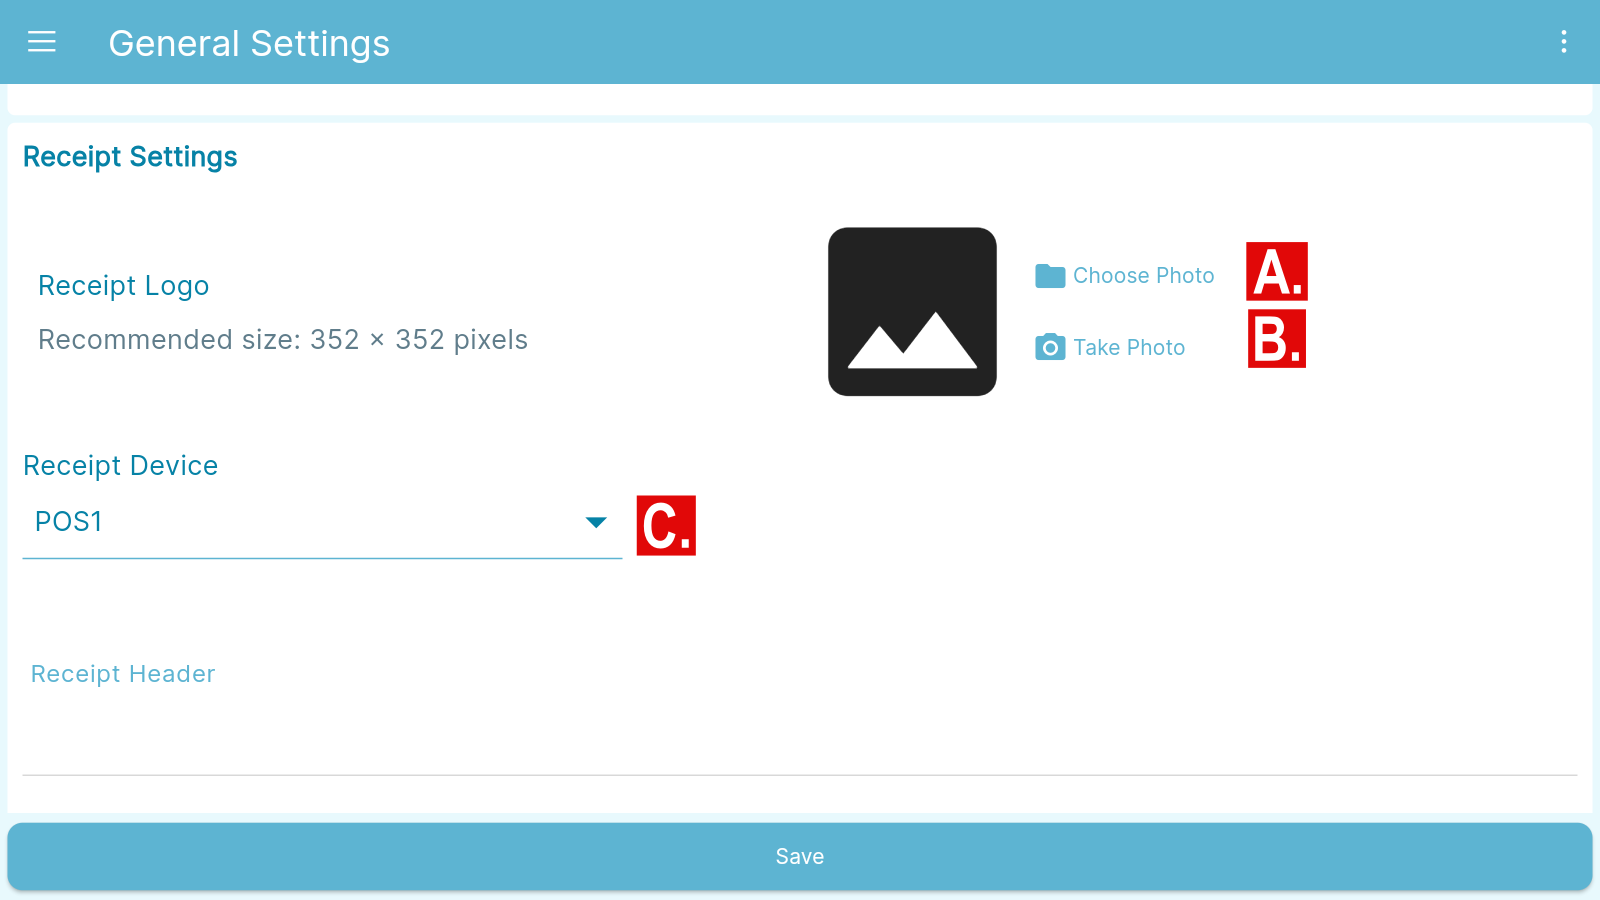
- In General Settings, scroll all the way to Receipt Settings.
- Under Receipt Settings, you can...
A. Choose Photo - tap this if you want to change your logo from your Gallery.
B. Take Photo - tap this if you want to change your logo by taking a photo or using the Camera from your device.
C. Receipt Device - tap this if you want the receipt to be reflected only on a specific device. *
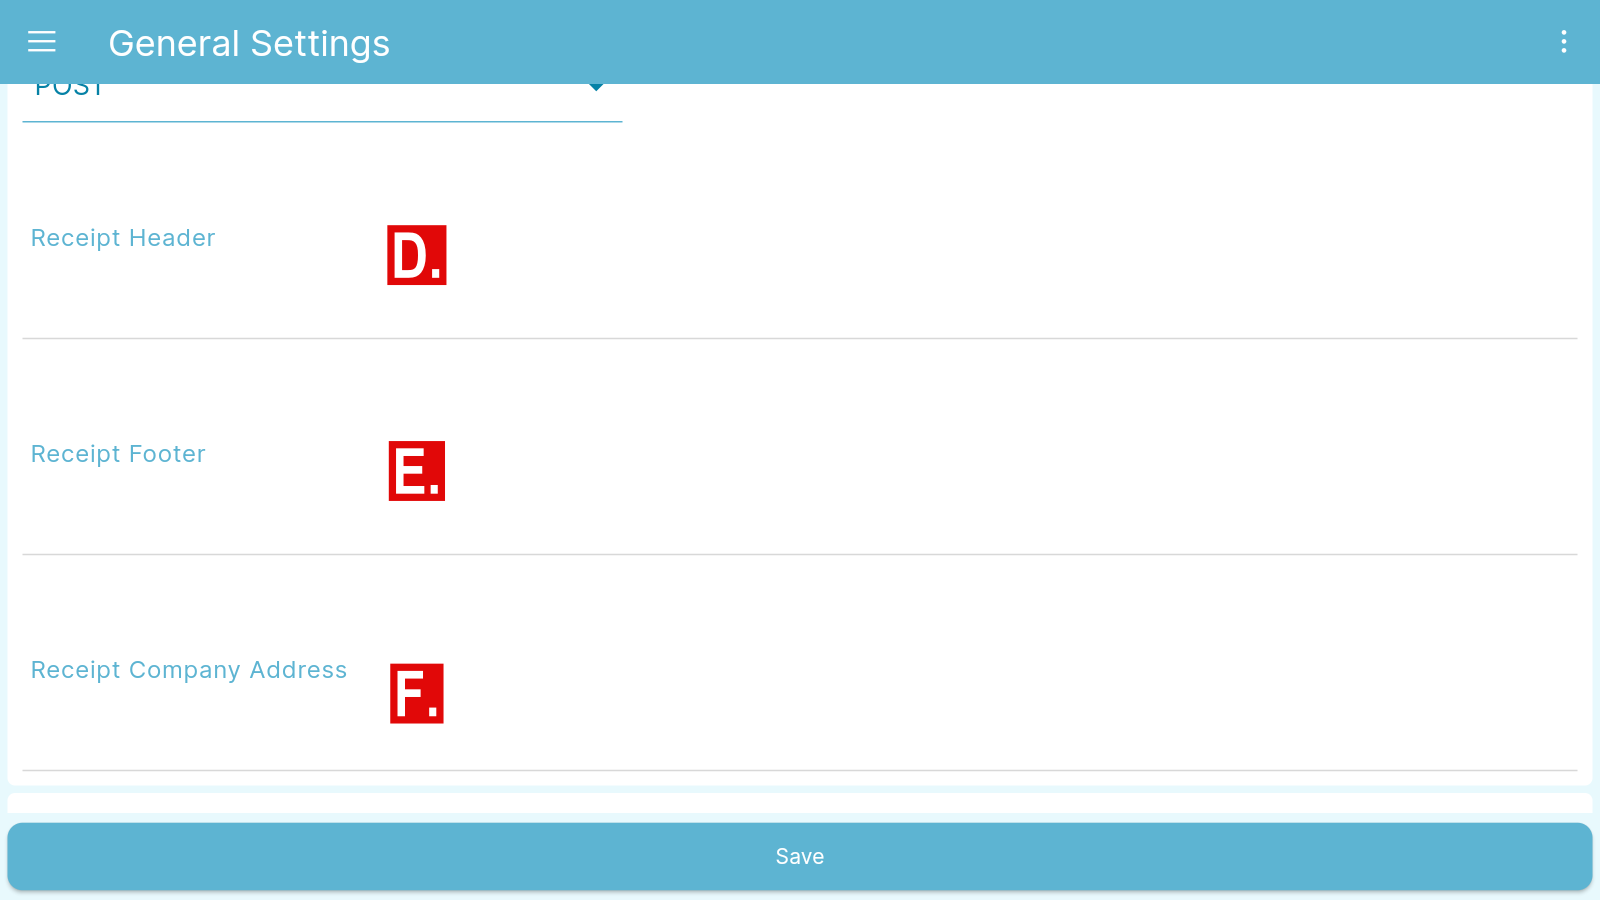
D. Receipt Header - add or change the text that appears above your receipt items (e.g., business name).
E. Receipt Footer - add or change the text that appears below your receipt items (e.g., business' website address, promo messages)
F. Receipt Company Address - add or change the address displayed below the Receipt Header.
* This automatically sets the current POS you're logged in.
B. Take Photo - tap this if you want to change your logo by taking a photo or using the Camera from your device.
C. Receipt Device - tap this if you want the receipt to be reflected only on a specific device. *
D. Receipt Header - add or change the text that appears above your receipt items (e.g., business name).
E. Receipt Footer - add or change the text that appears below your receipt items (e.g., business' website address, promo messages)
F. Receipt Company Address - add or change the address displayed below the Receipt Header.
* This automatically sets the current POS you're logged in.
- Once you're done modifying your Receipt Settings and changing your logo, tap Save to apply the changes.
🥳
Hooray! You have now added a logo on your Receipt through POS.
Adding or Changing Logo Receipt in the Back Office
Let's Get Started:
- On the Navigation Menu, click or hover the gear icon (⚙) or Settings > General Settings.
0:00
/0:12
Redirecting to General Settings
- On the left panel, click the Receipt Settings tab.

- Change the following under the Receipt Settings. Click on Choose Photo to upload your logo from your device.
💡
The Receipt Settings is just the same as on the POS.
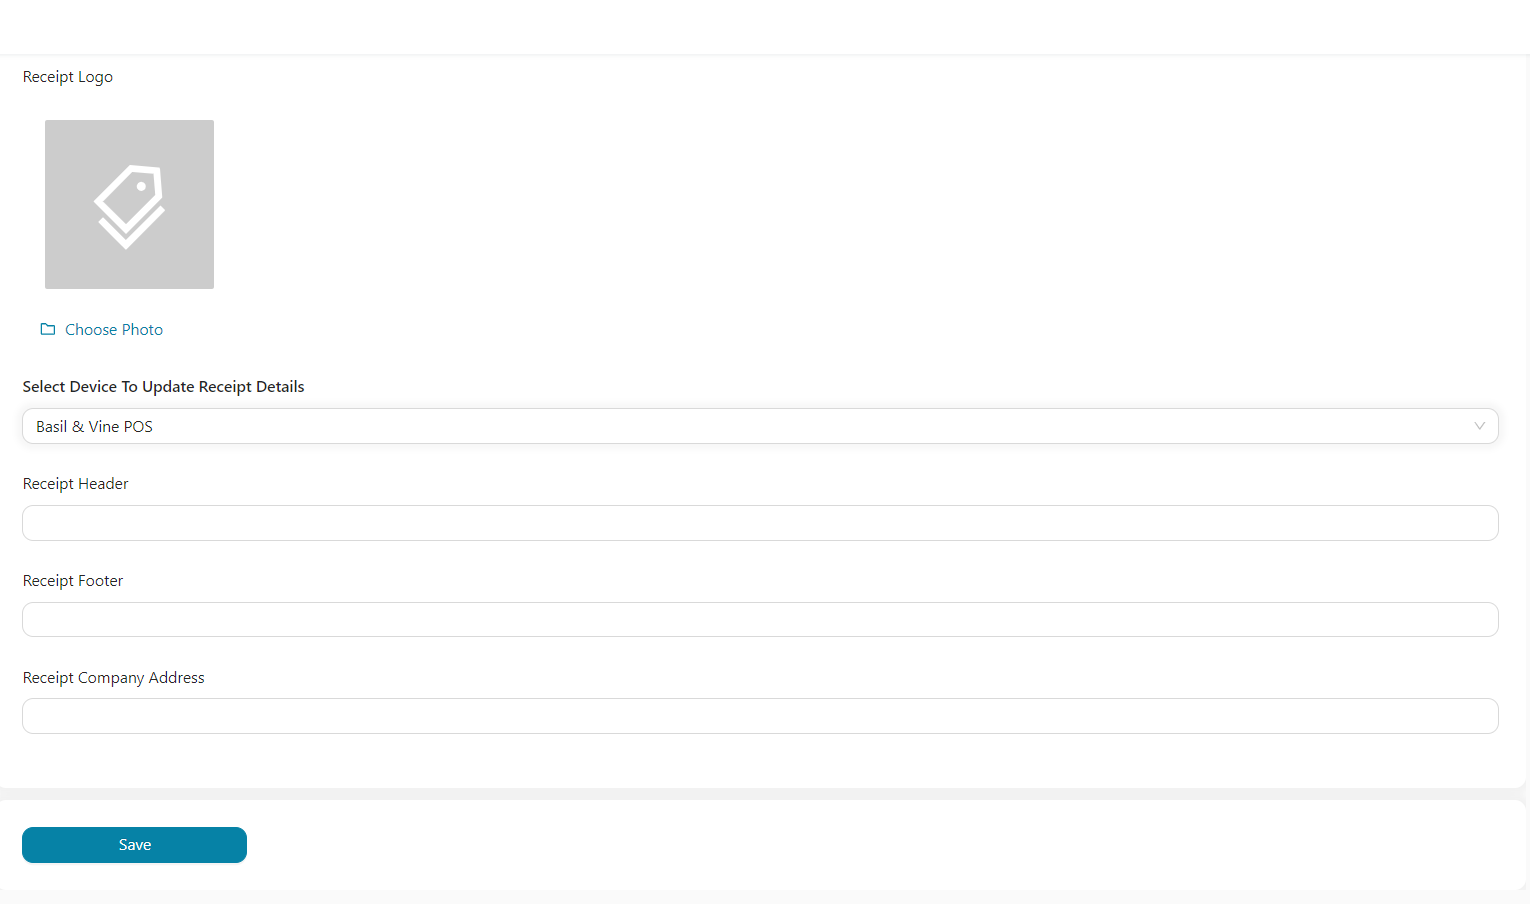
- Click Save to save your changes.
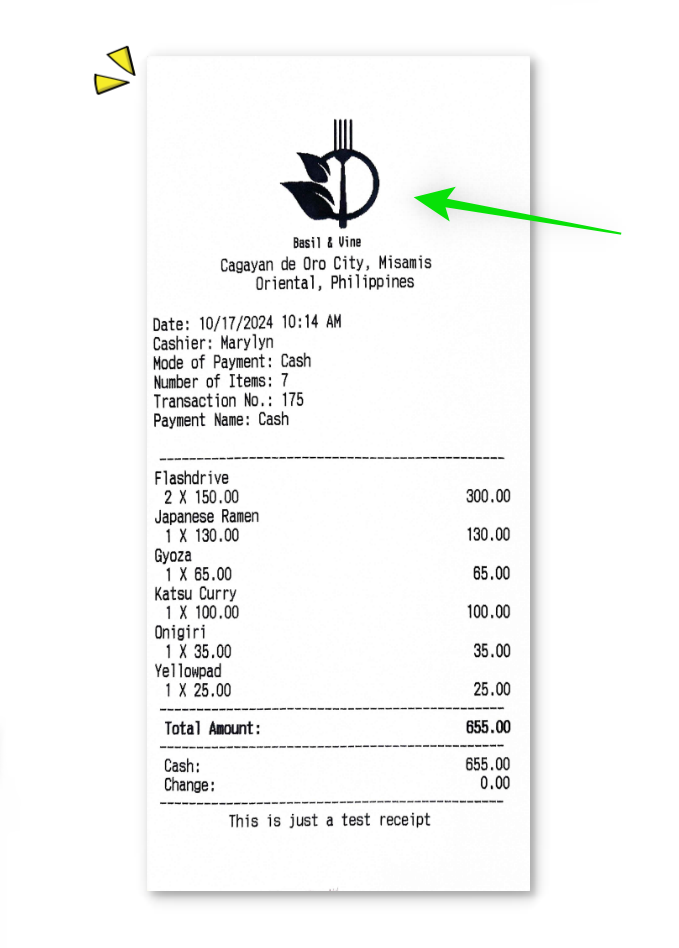
Here is a visual sample of the receipt with logo:
❔
The logo will be printed in black and white on the receipt, regardless of its original color.
👏🏻
Great! You've just learned how to add your logo to your receipt through Back Office.