
Item modifiers are item options that can be assigned to items. Examples are product fillings or toppings or add-ons in general.
Creating Item Modifiers
Item modifiers can only be created on the Back Office of KaHero POS.
Let's get started:
- On the Navigation Menu, select Back Office to access the back office. You can also click here for the link.

- Login your account and hover/click the tag icon / Listings > Items.
- Click the Modifiers tab > New Modifier to create a modifier.
- Add a label to your modifier. You can label it as the parent item/s or item category to which the modifiers should be assigned.
(ex. If you want to add modifiers to your drinks category, label it as "Milktea")
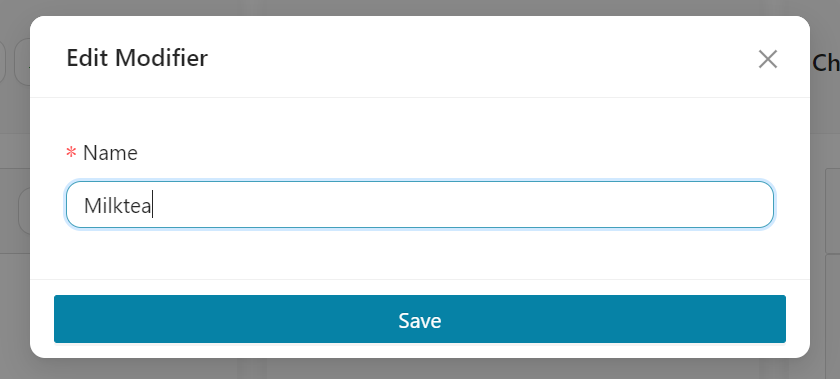
- Click Save.
- Click Add Layer to your modifier. You can add multiple layers in your modifier.
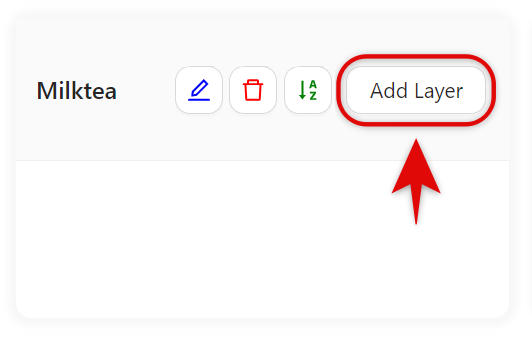
- Input your Layer Name.
- If you want to select your modifier more than one (1), enable Multiple-Based. A sample will be "Add-ons".
- When Multiple-Based is enabled, you can specify how many can be added to your item. (ex. you can only allow adding 2 add-ons in your item)
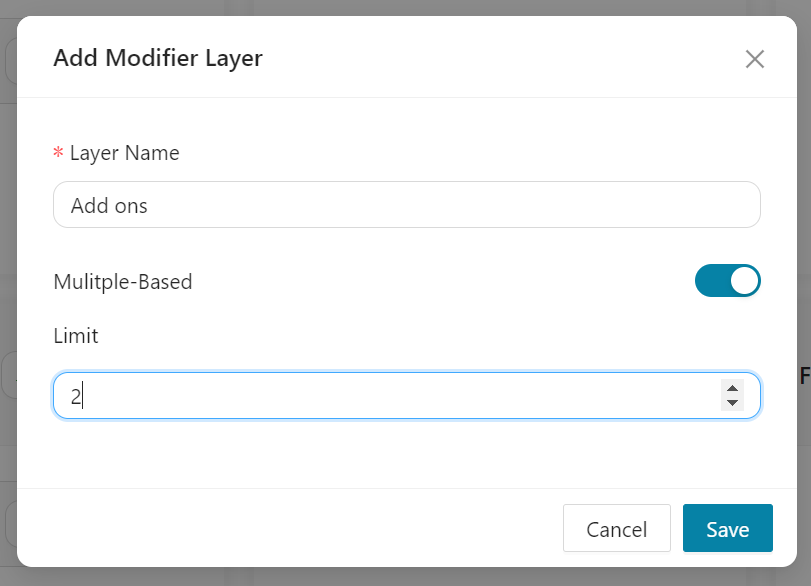
- If done, click Save.
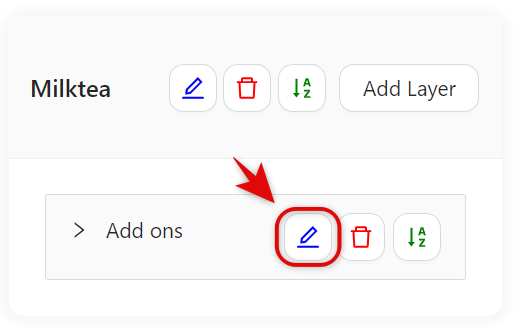
To edit and add your Item option under Modifier Layer:
- Click the pencil icon / Edit on your chosen layer.
💡
Your modifier won't appear in the Register if you don't add Item Options under your Modified Layer.
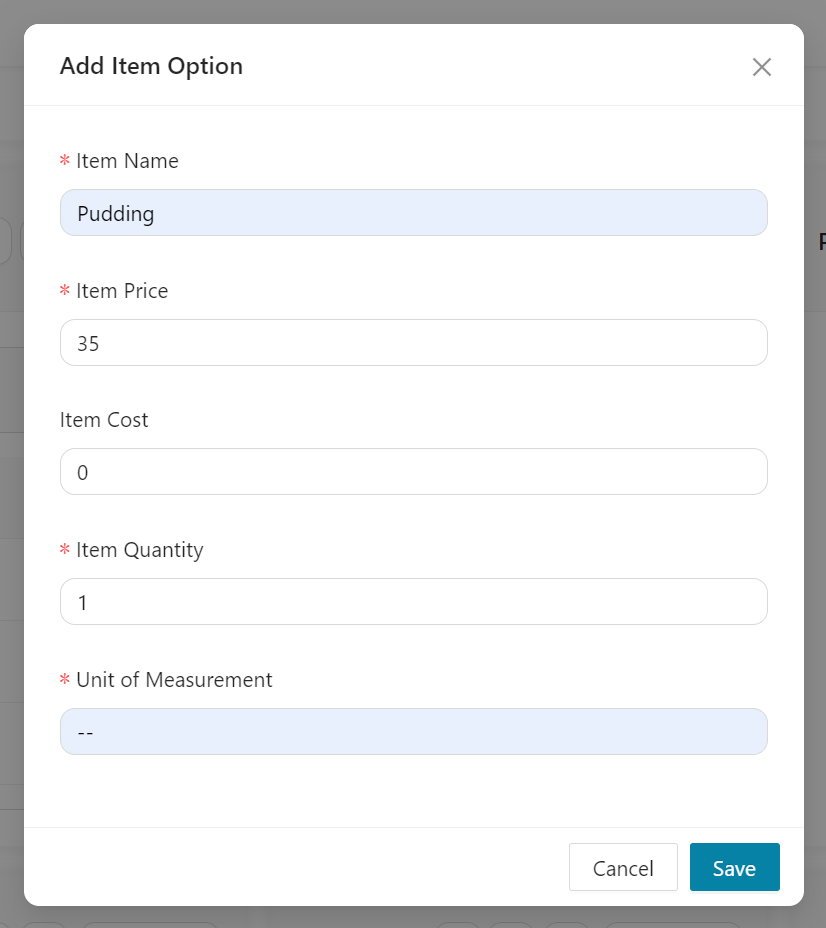
- Click Item Options > Add Option.
- Add details to your Modified Layer.
Item Name - Input your item's name.
Item Price - Input your item's price.
Item Cost - Input your item's cost.
Item Price - Input your item's price.
Item Cost - Input your item's cost.
- If done, click Save.
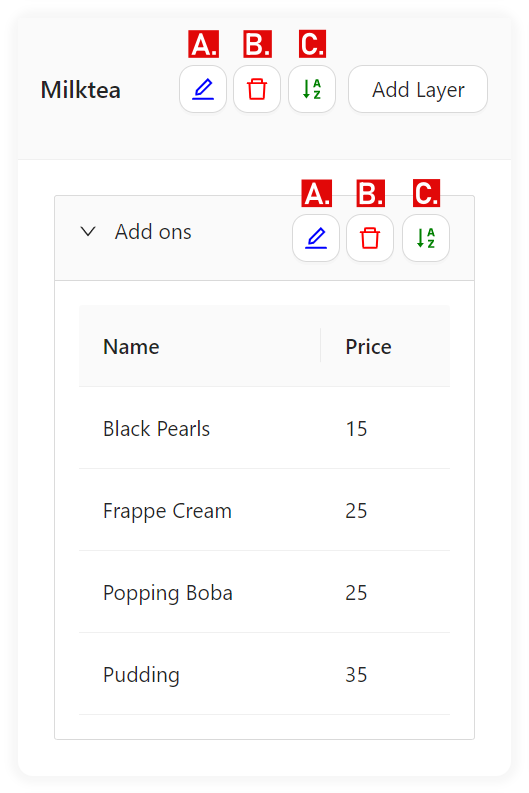
- You can also Edit, Delete, Sort your Modifier and Modified Layer just by clicking the action buttons.
A. Click to Edit your Modifier and Modified Layer.
B. Click to Delete your Modifier and Modified Layer.
C. Click to Sort your Modifier and Modified Layer, to sort just drag the item where you want position it.
B. Click to Delete your Modifier and Modified Layer.
C. Click to Sort your Modifier and Modified Layer, to sort just drag the item where you want position it.
🤩
Nice! You've just added your modifier.
Importing Item Modifiers
This feature allows you to add your new modifiers in a bulk using an Excel spreadsheet template.
Let's get started:
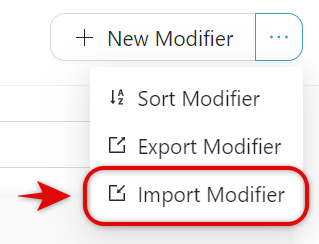
- In your Modifiers tab, click the triple-dot icon (⋯) or More Options.
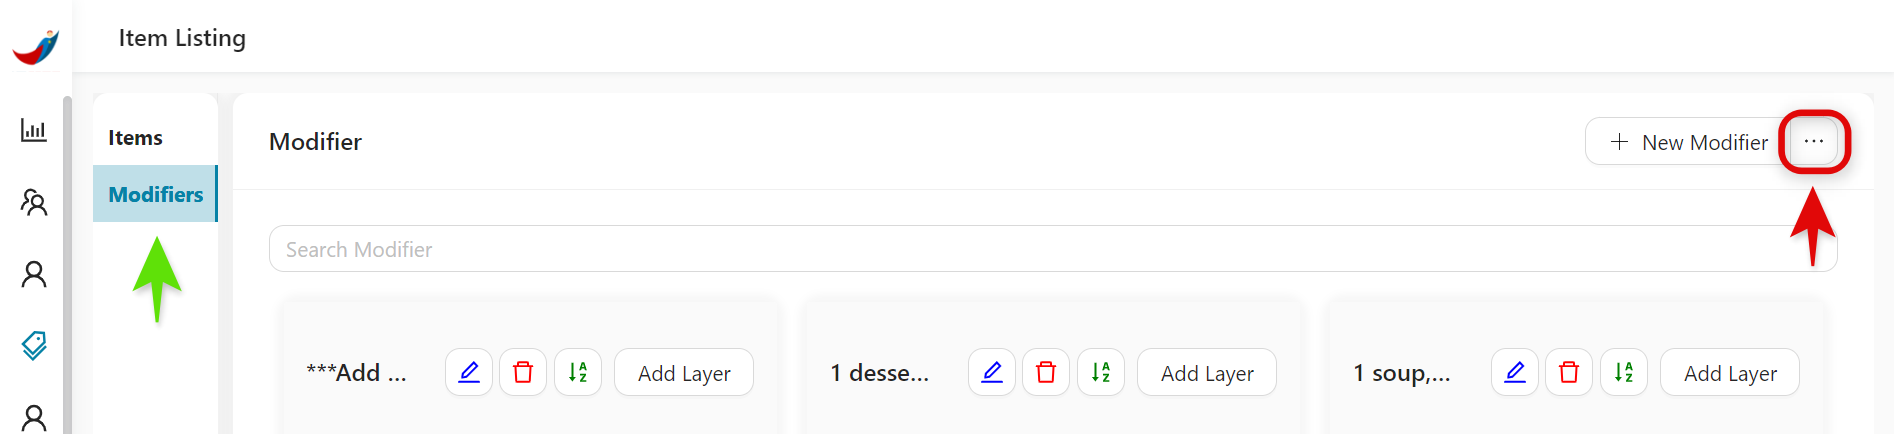
- Click Import Modifier.
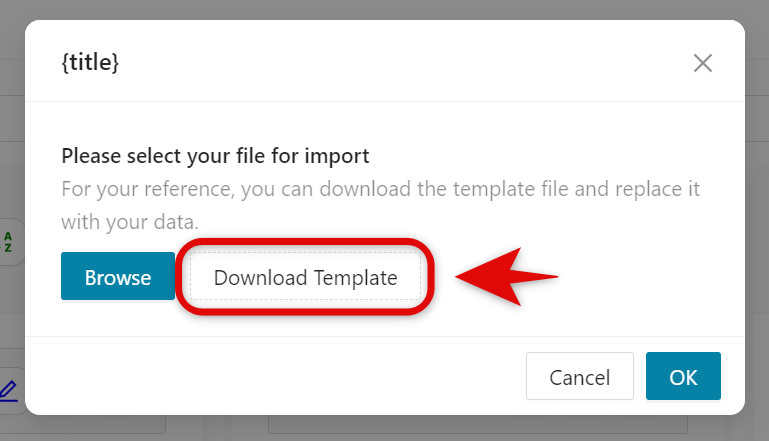
- Click Download Template. An excel file named "modifier_template.xlsx" will then be downloaded.
- Encode your modifiers.
💡
Don't change all in row 1.

- If done, Save your file.
- Go back to Back Office and click on Browse.
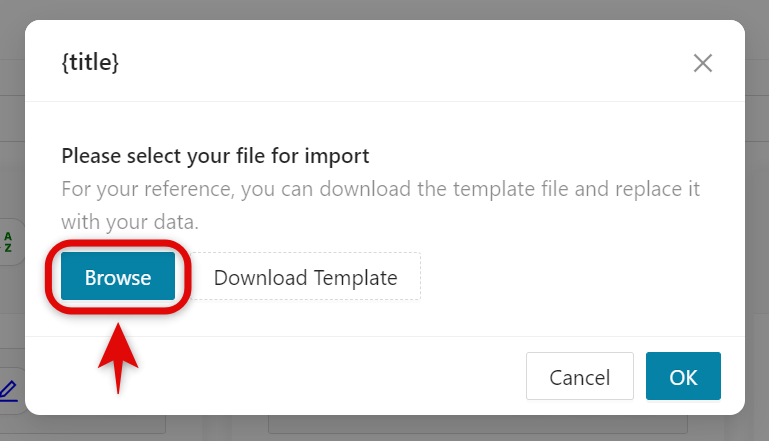
- Upload your excel file > Open > OK.
🥳
Yay! You've just successfully imported your item modifiers.
Adding Item Modifiers
To use the Modifier, you must first apply it to your Items.
- In your Items tab, click Set Modifier on the item you want to add modifiers to.
- Enable the modifier you want to apply in your selected item.
- Click Save.

- The modifier will then be added to your item.
👏🏻
Great! You have just applied your modifier to an item.
Applying Item Modifiers (POS)
You can apply your item modifiers in KaHero POS.
Video tutorial on Applying Item Modifiers on KaHero POS
- This is how your items with modifier will show on the register:

- If a customer would like to have add-ons, tap Yes.

- This is your modifiers screen. Select which modifier your customer wants. You can select several choices. Tap Add Item Add-ons.

- This is how your item and its modifier will be shown on your ticket screen. Proceed to payment.

🥳
You're good to go!