KaHero POS allows you to label your receipts specifying a customer.
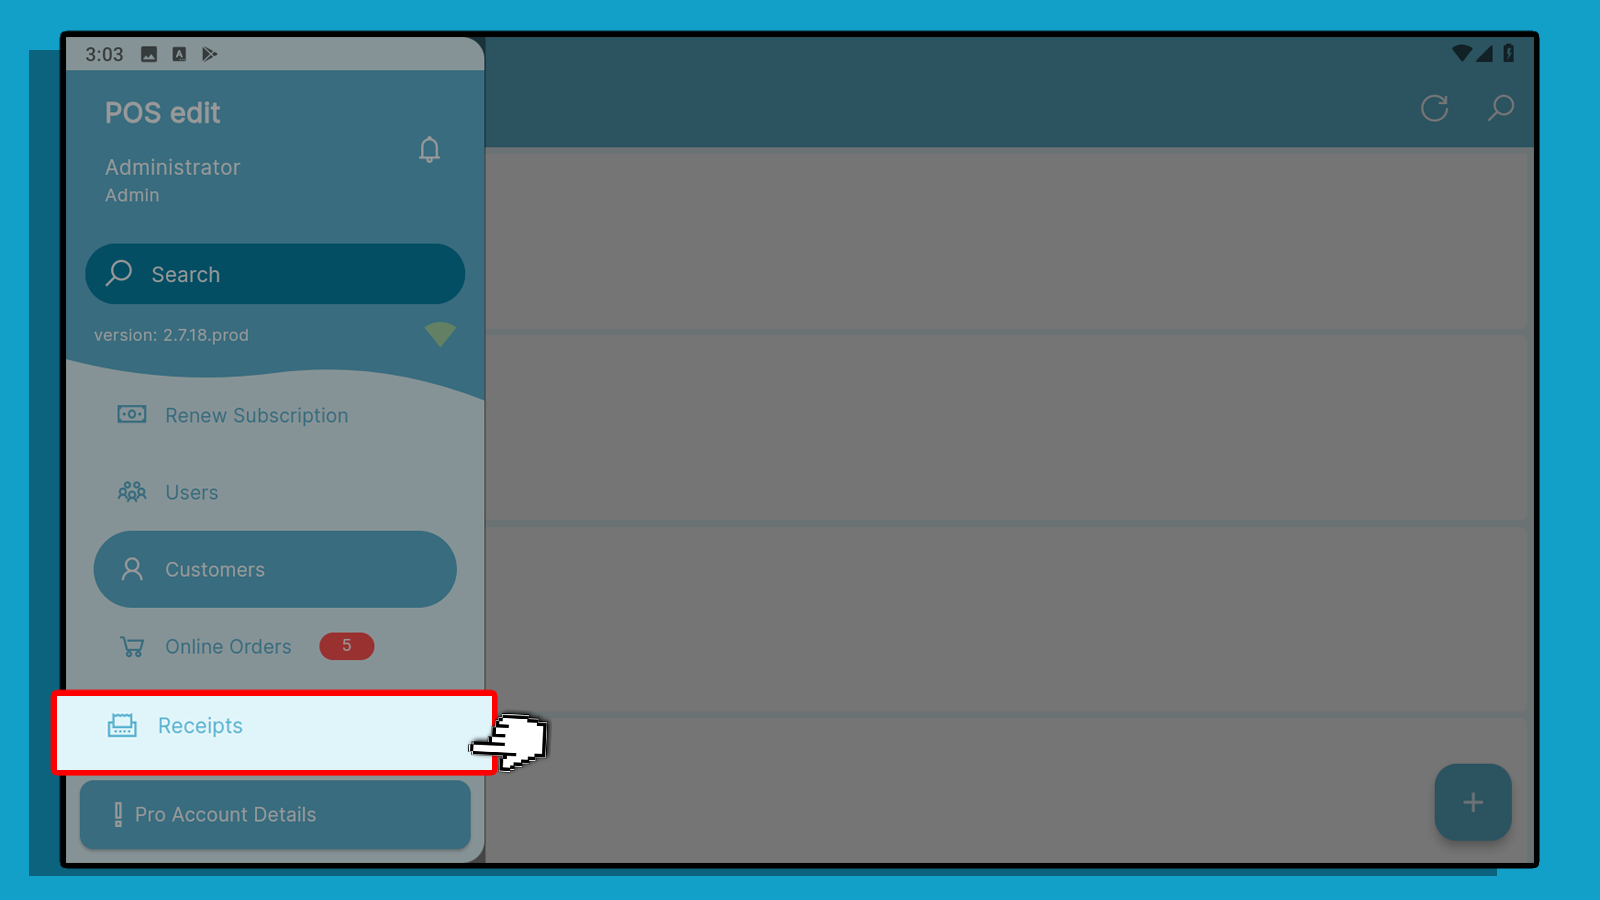
On the "Navigation Menu", select "Receipts" to go to your receipts page.
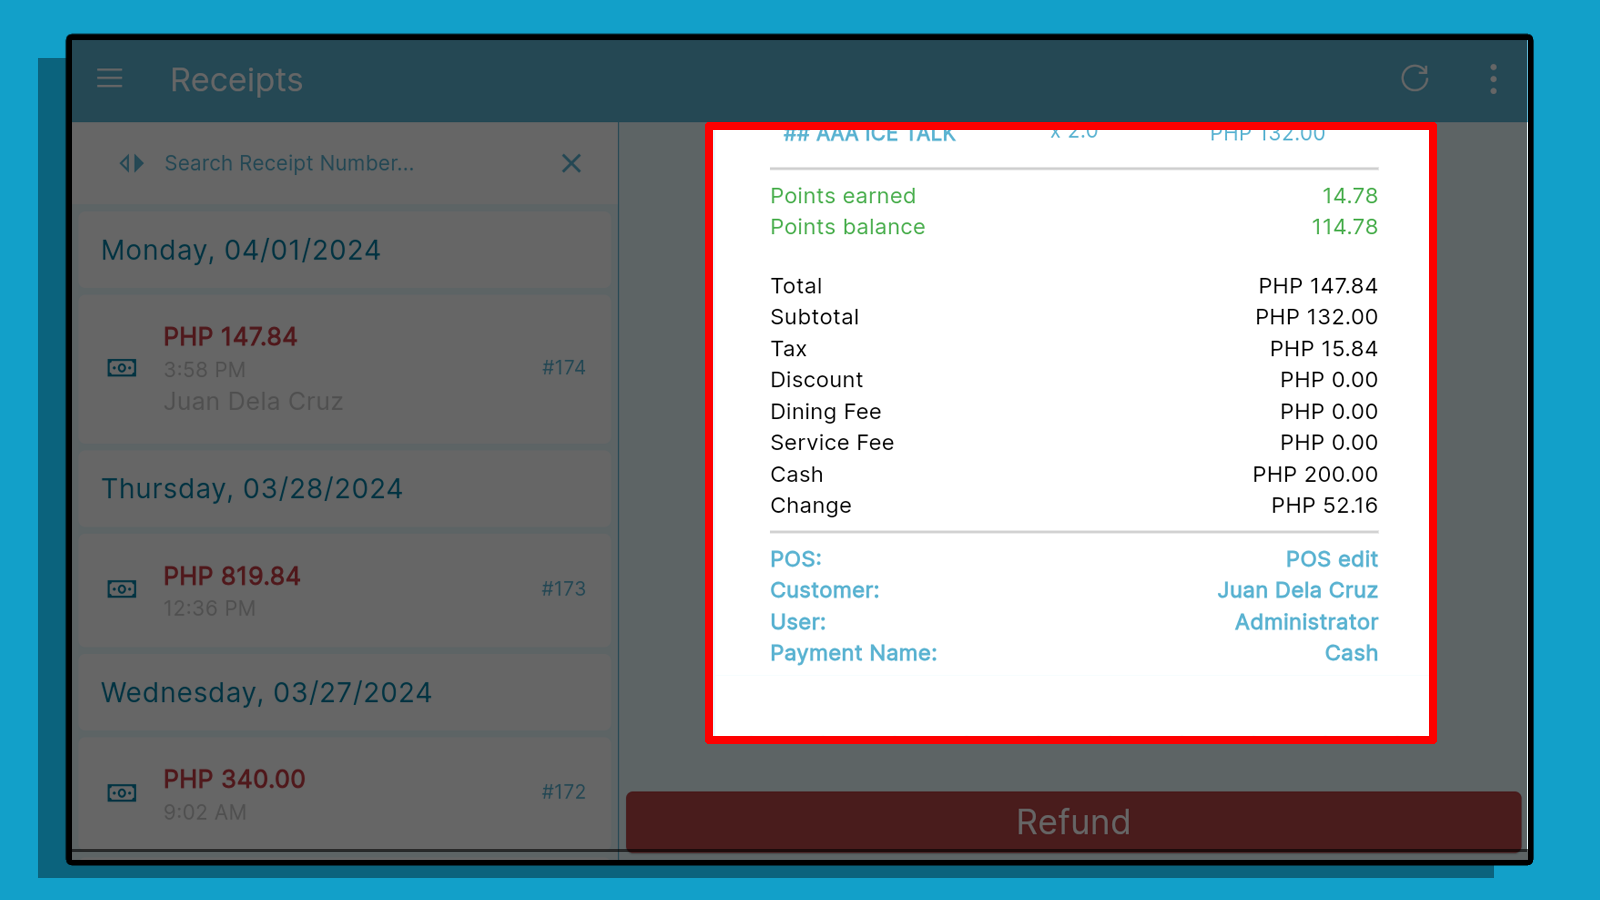
This is how your receipt will appear on the receipts screen with the customer assigned to it.
Adding Customer to Receipt
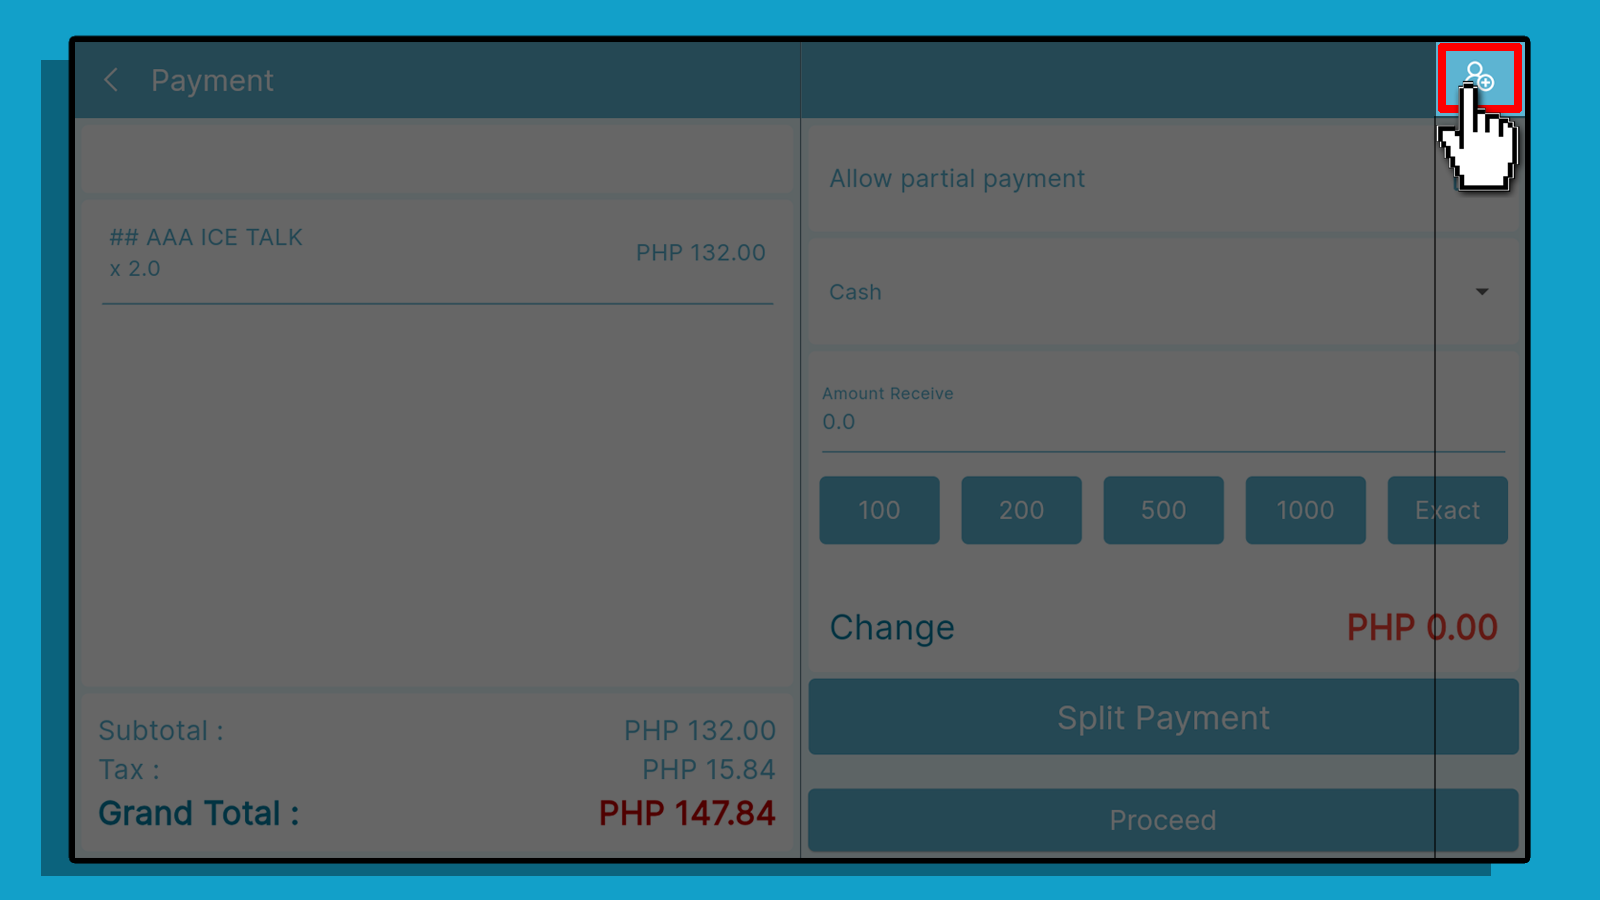
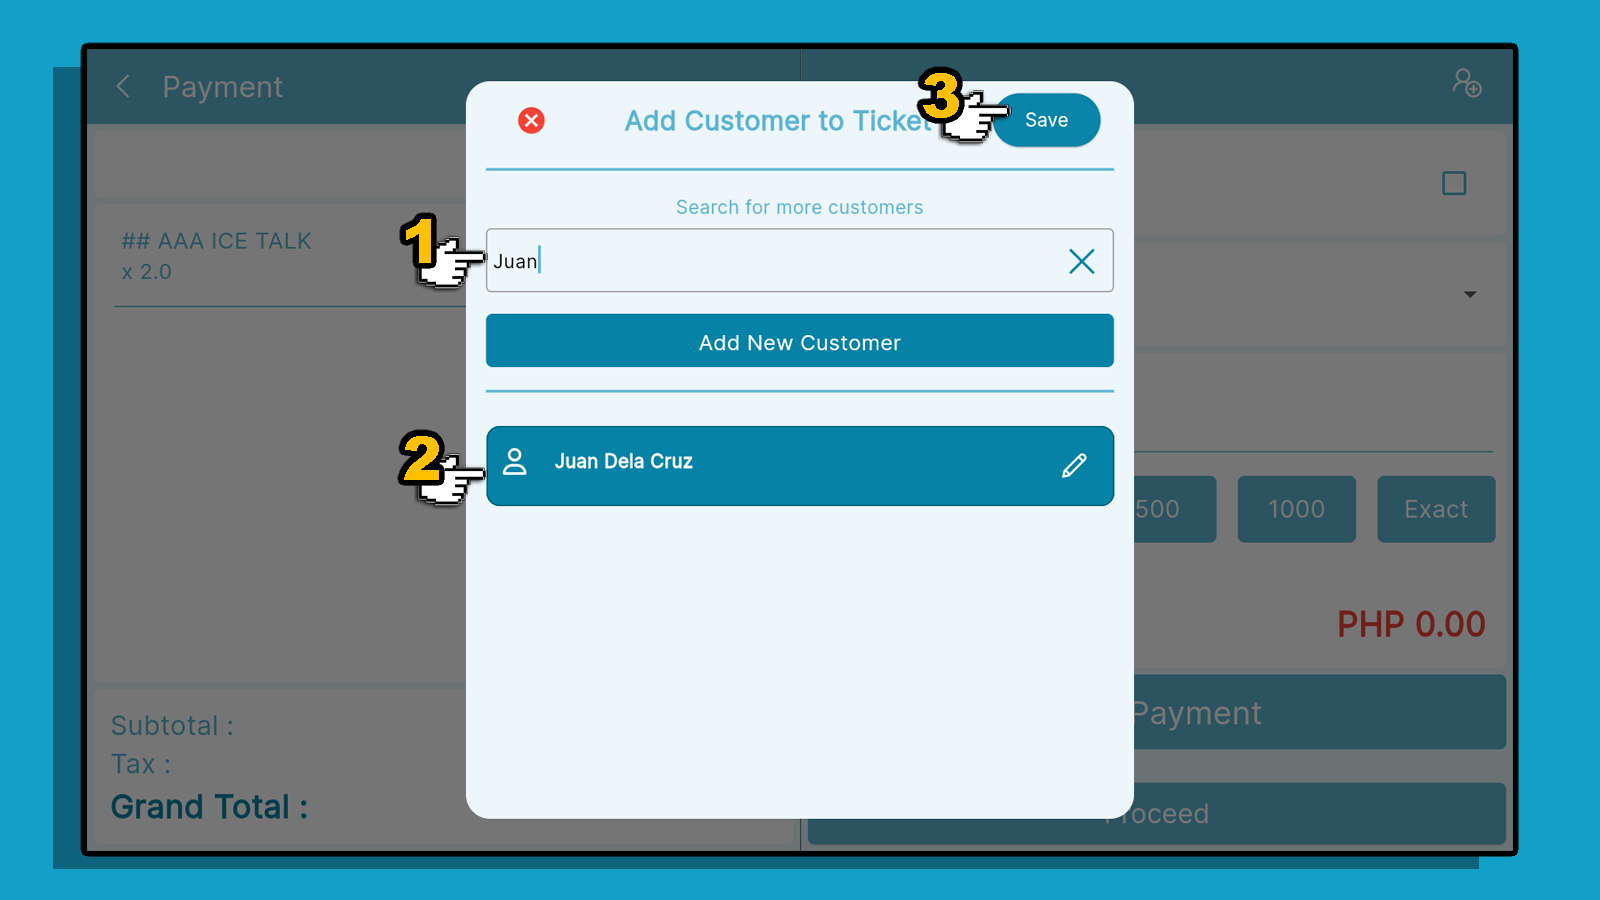
After adding items to your ticket and proceeding to the payment screen, click on the "Add Customer" icon above the ticket summary.
1 Search for a specific customer to add.
2. To add a new customer, click on the "Add New Customer" button.
3. Click on a customer you want to assign to the ticket.
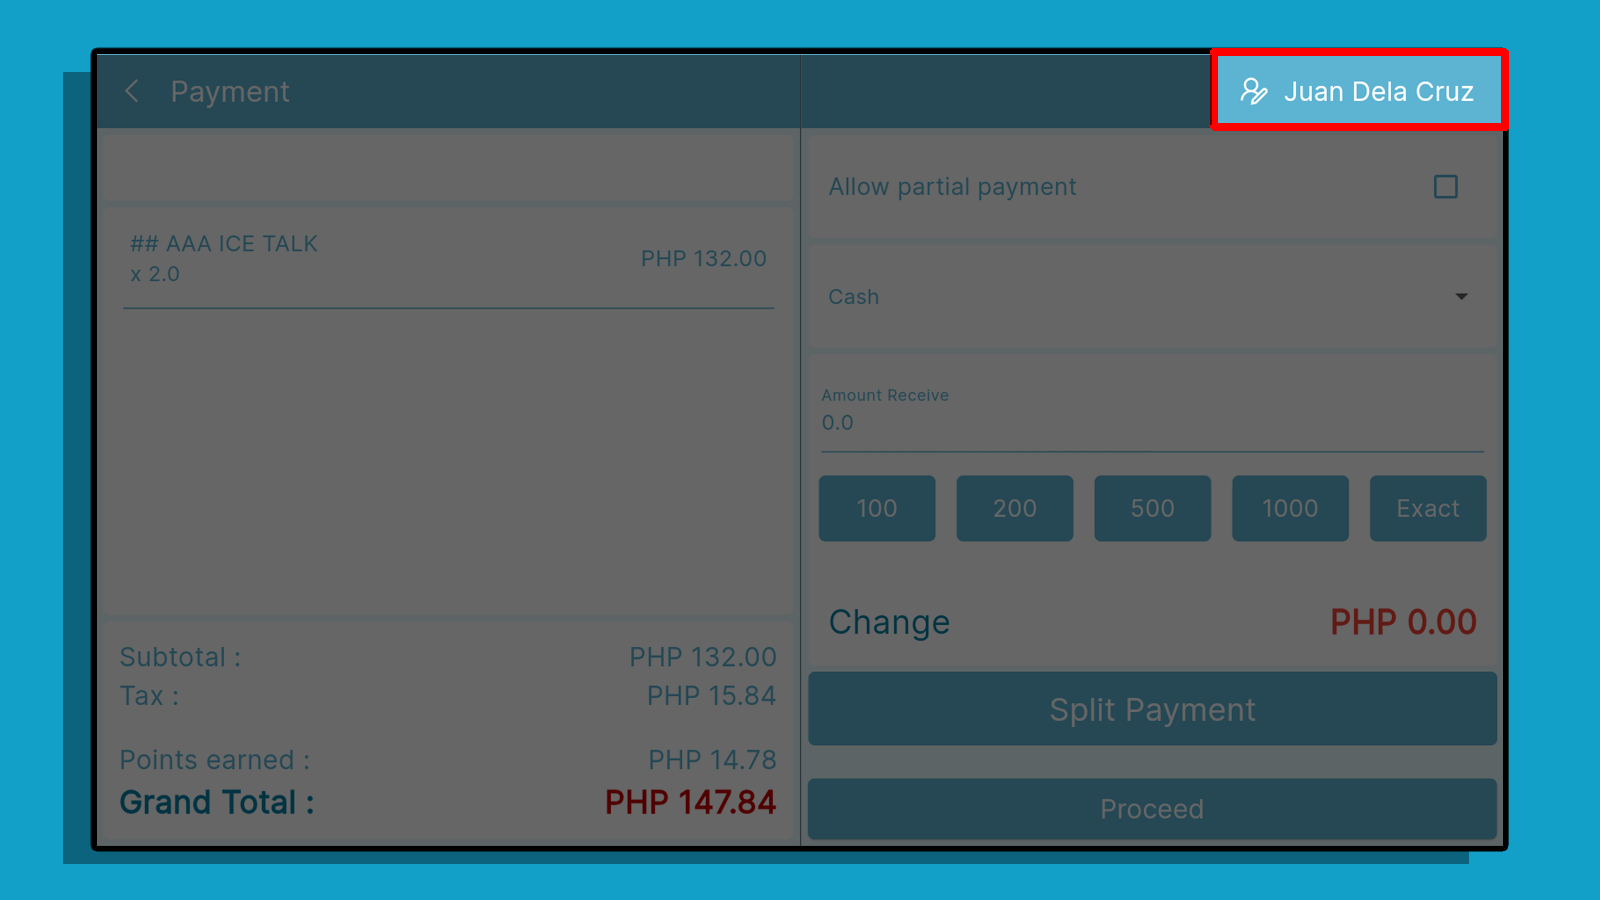
The customer's name will then appear on the transaction.
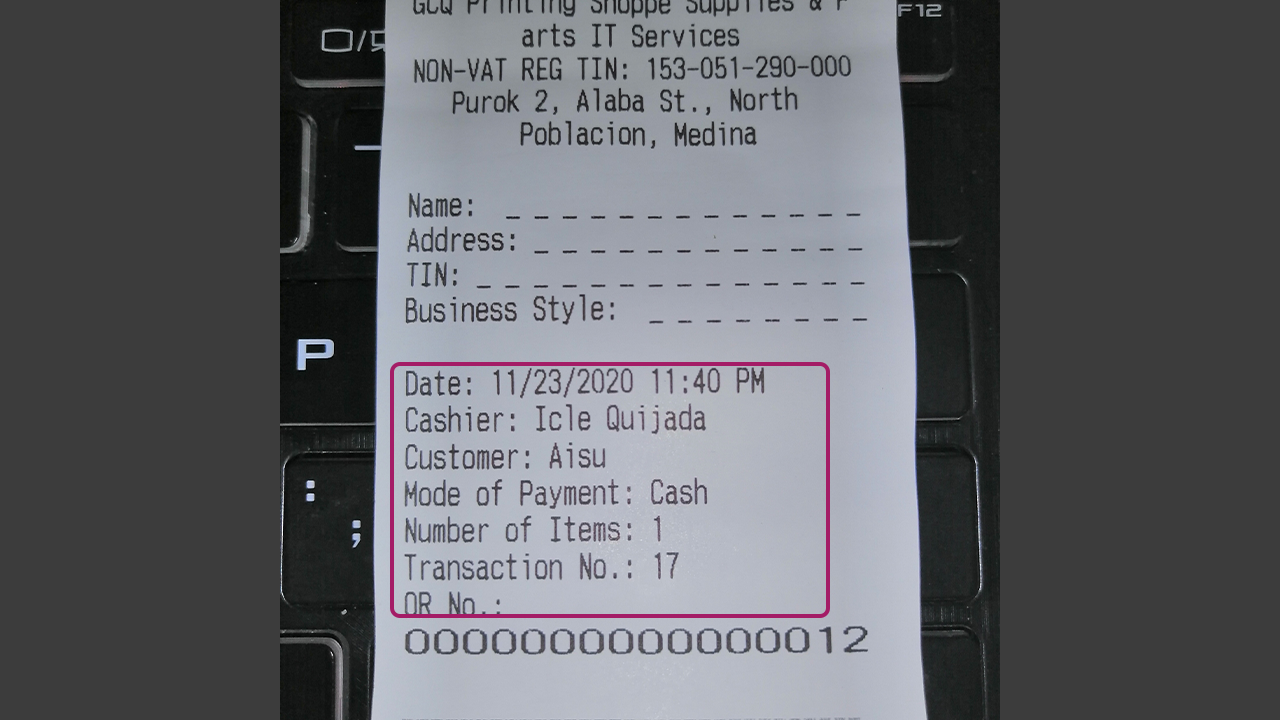
This is how your customer's information will appear on your printed physical receipt.