
Once you have installed KaHero POS on your device, setting up your business settings is the next step.
General Settings
Setting up store's general settings
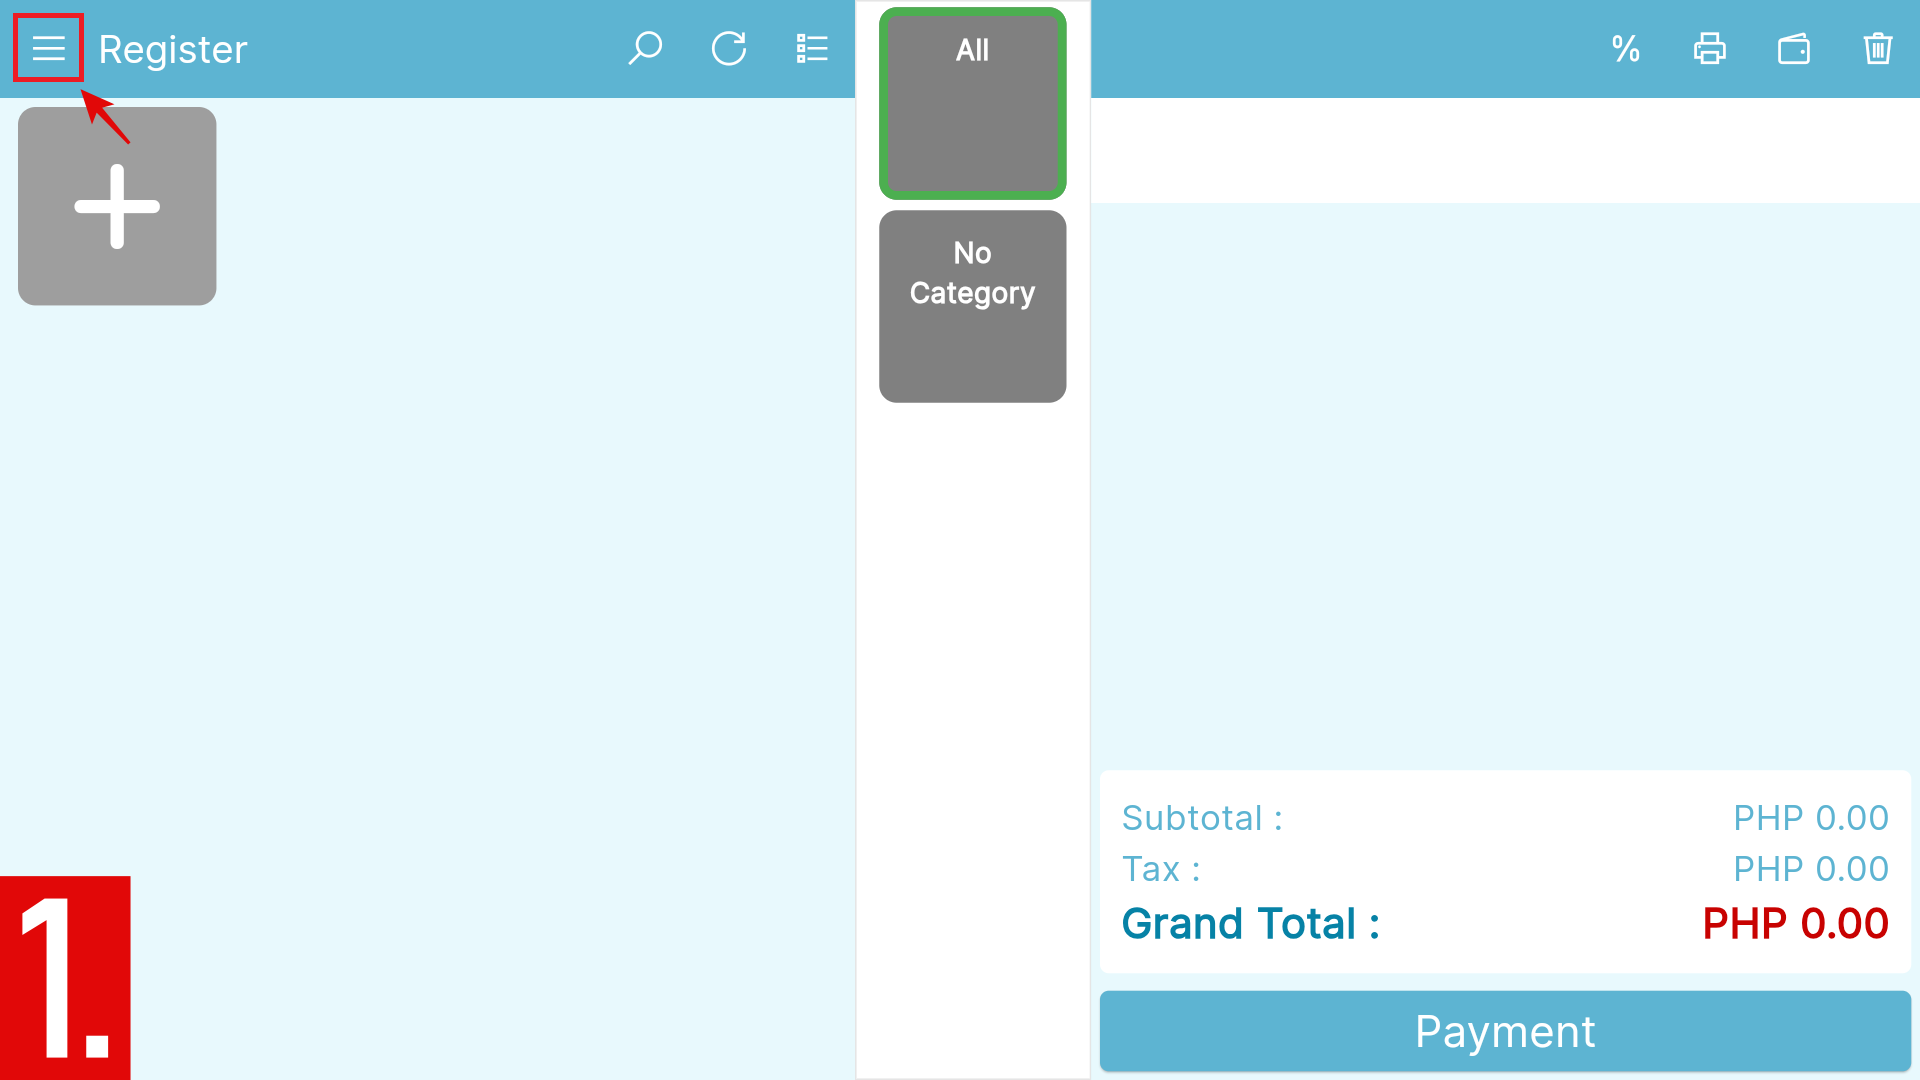
- Tap the Navigation Menu icon.
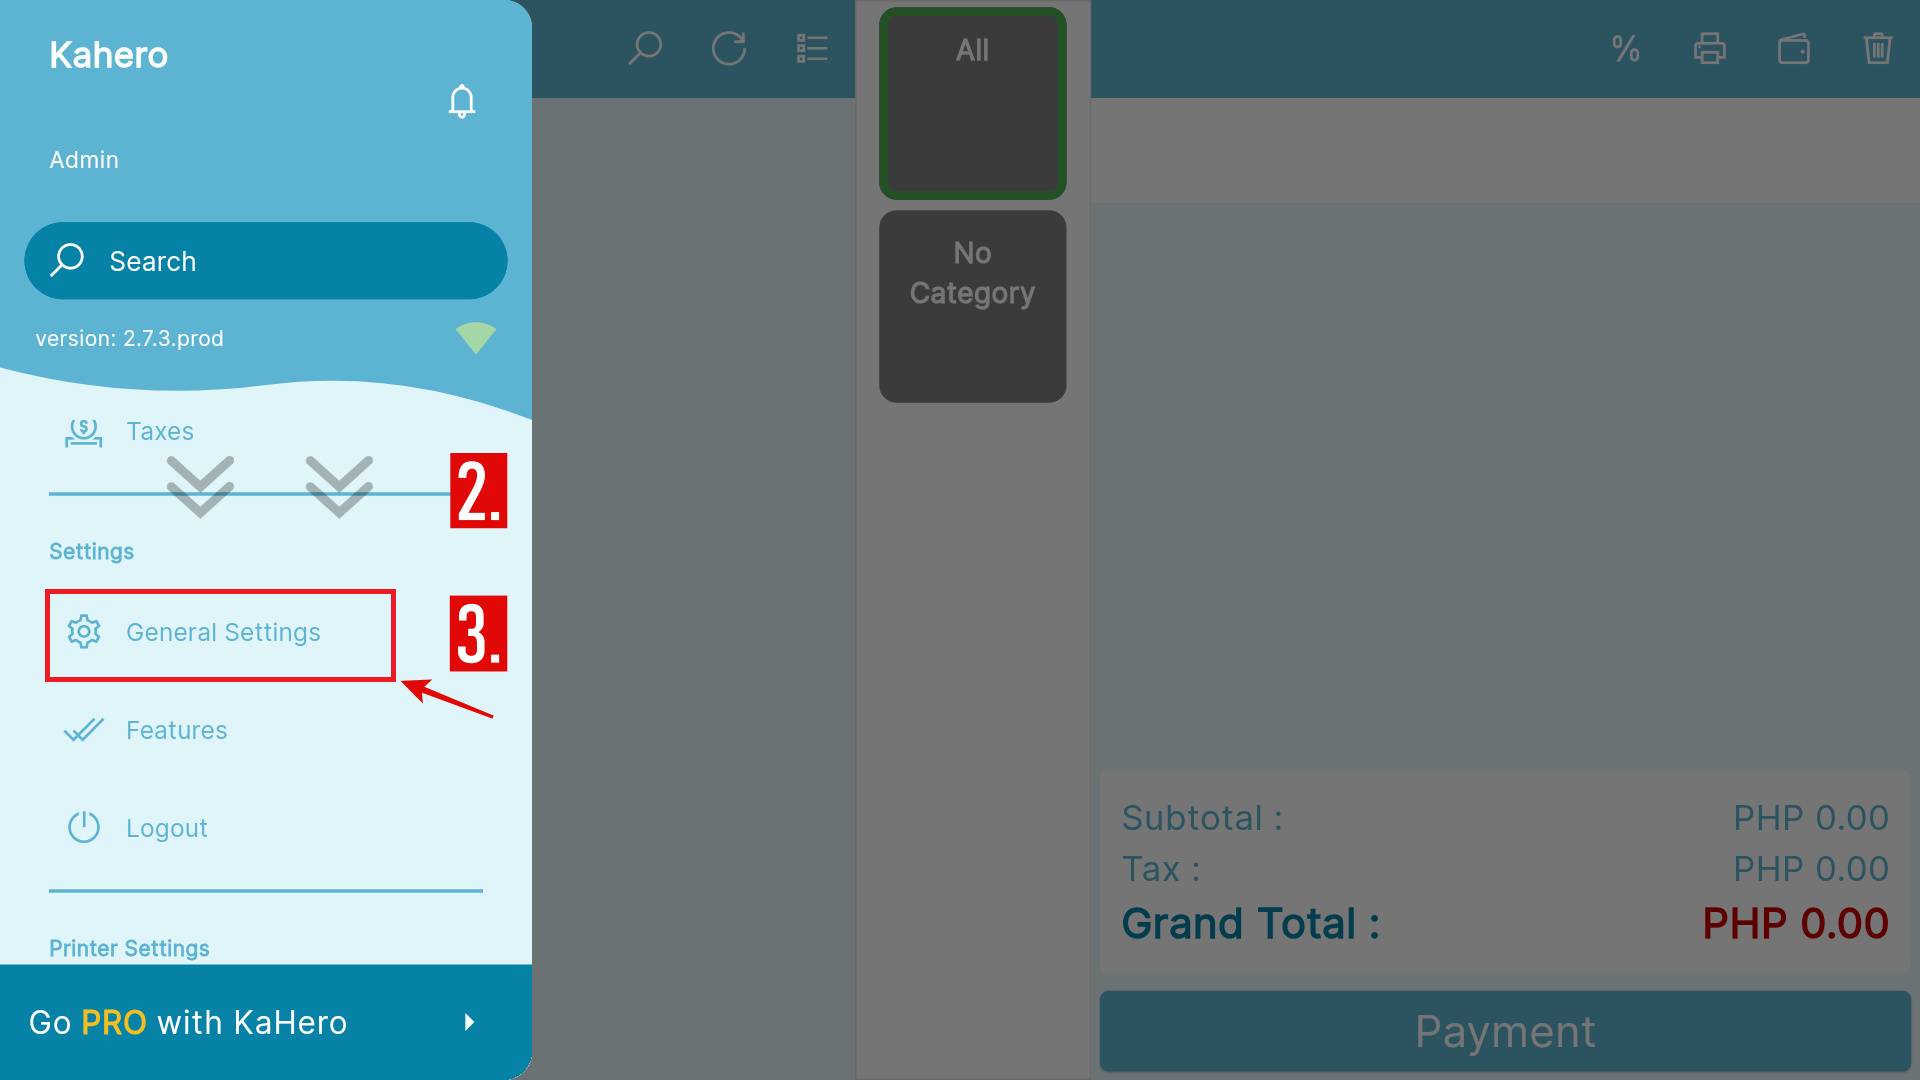
2. On the Navigation Menu, scroll all the way down to Settings menu.
- Tap General Settings.

- Set up your store's Service Fee (in percentage). This will reflect on your transactions on the Register screen.

- Enter your store's mobile number.

- Enter the Referral code (optional).

- Enable Passcode and create a four (4) digit pin code to restrict unauthorized delete of open tickets.

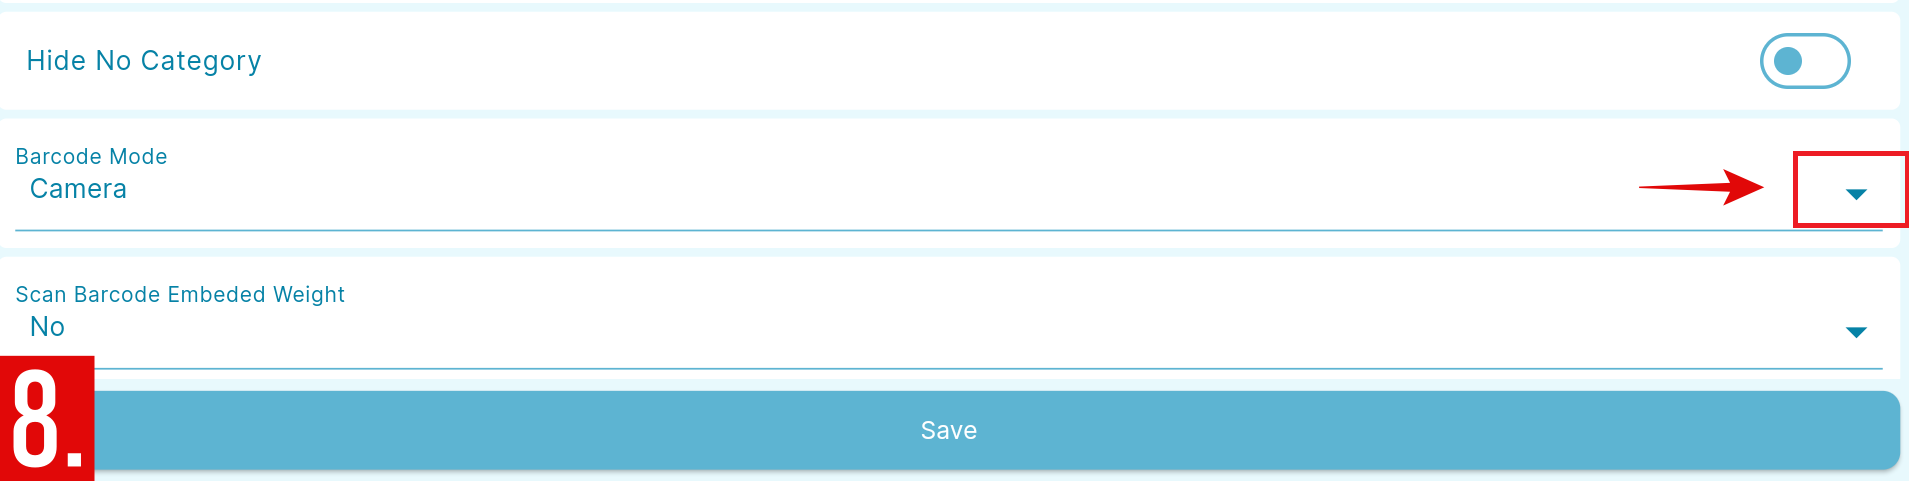
- Enable the Hide No Category feature to hide your uncategorized items.

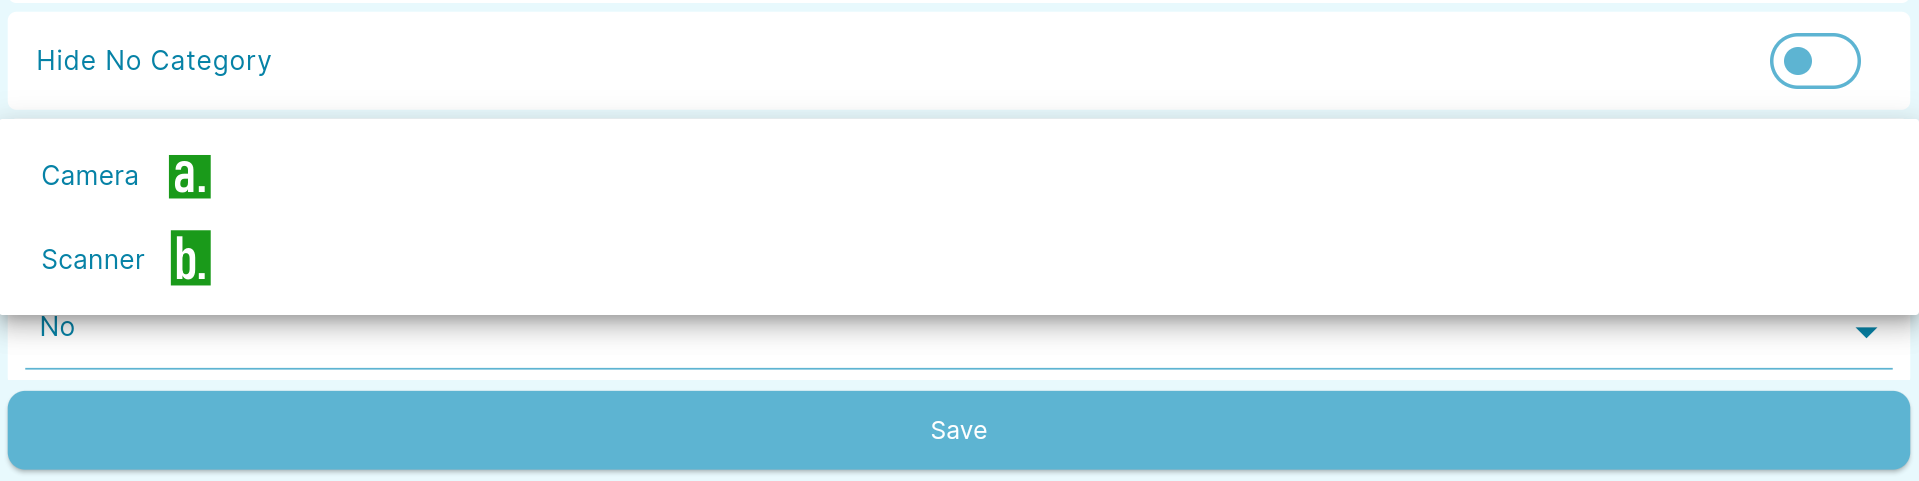
- Choose which device to use for scanning barcodes.
a. Camera - built-in camera of mobile devices.
b. Scanner - a barcode reader device.
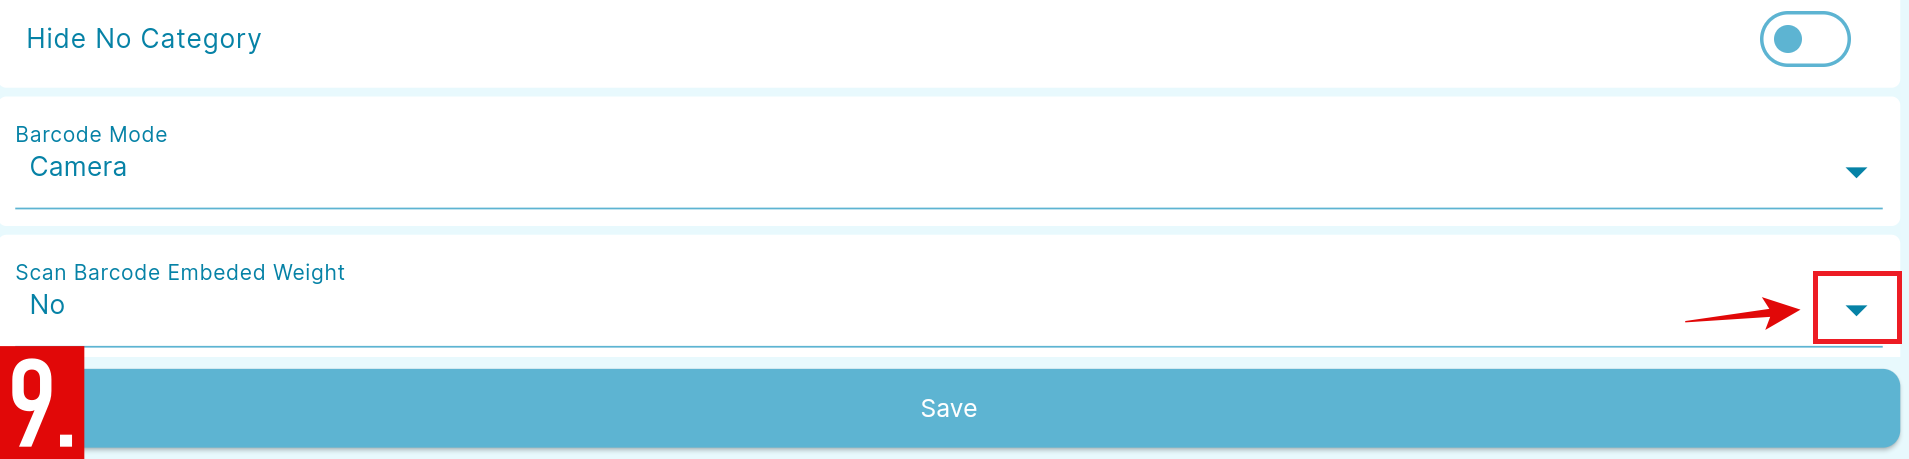
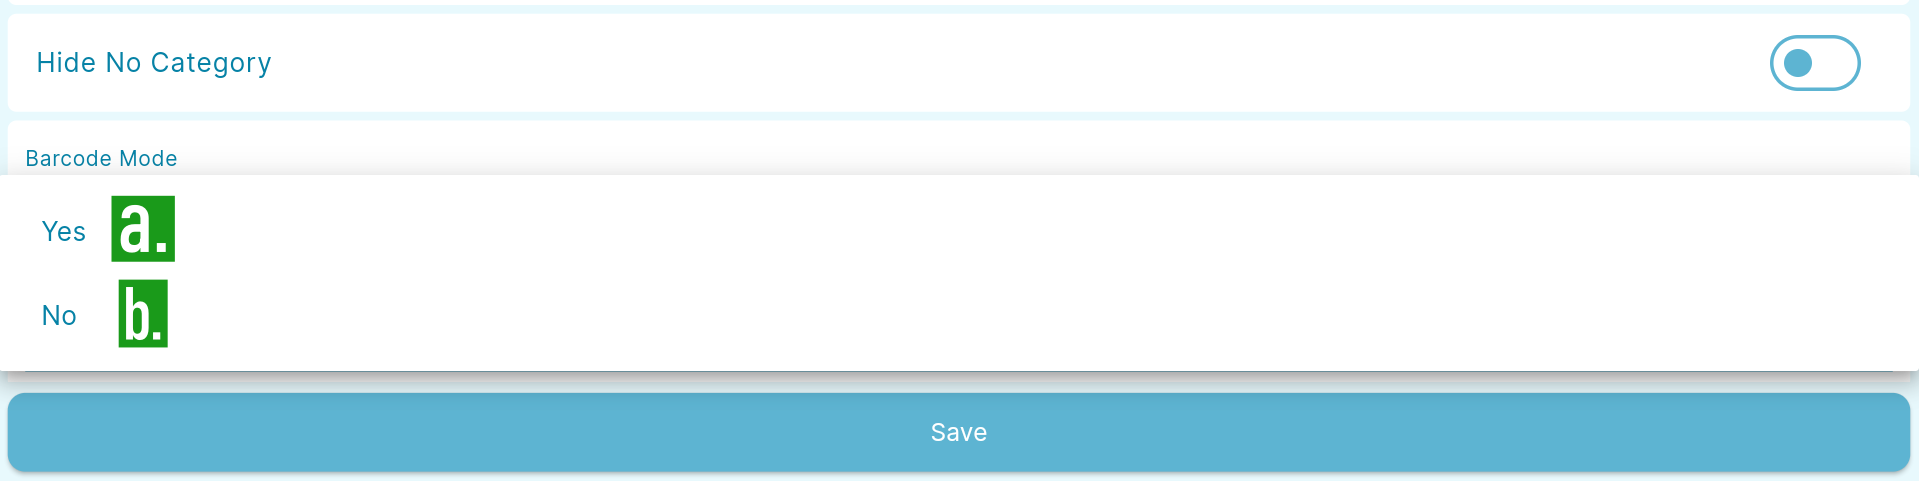
- Under Scan Barcode Embedded Weight:
a. Yes - Enable Scan Barcode Embedded Weight
b. No - Disable Scan Barcode Embedded Weight
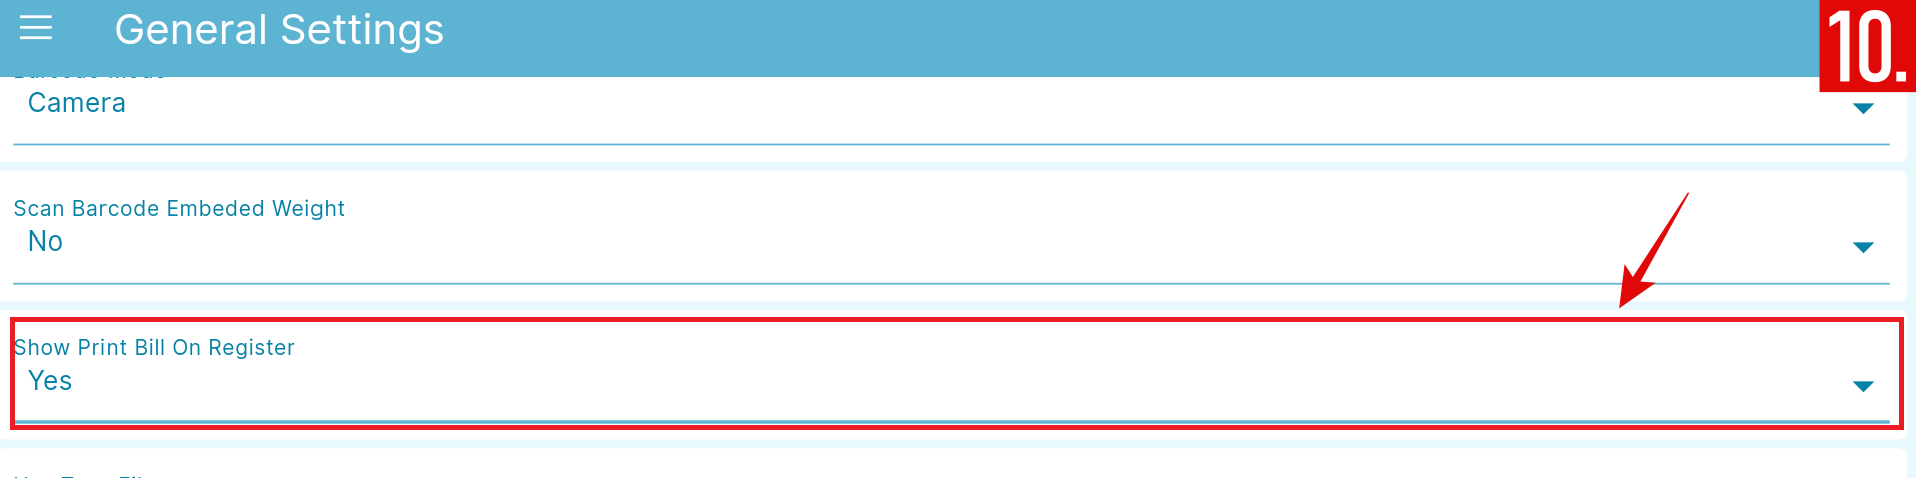
- Under Print Bill On Register:
a. Yes - Select if you want to show the Print Bill on Register.
b. No - Select if you don't want to show the Print Bill on Register.
- Under Use Tags Filter:
a. Yes - Select if you want to filter your items using tags.
b. No - Select if you don't want to filter your items using tags.
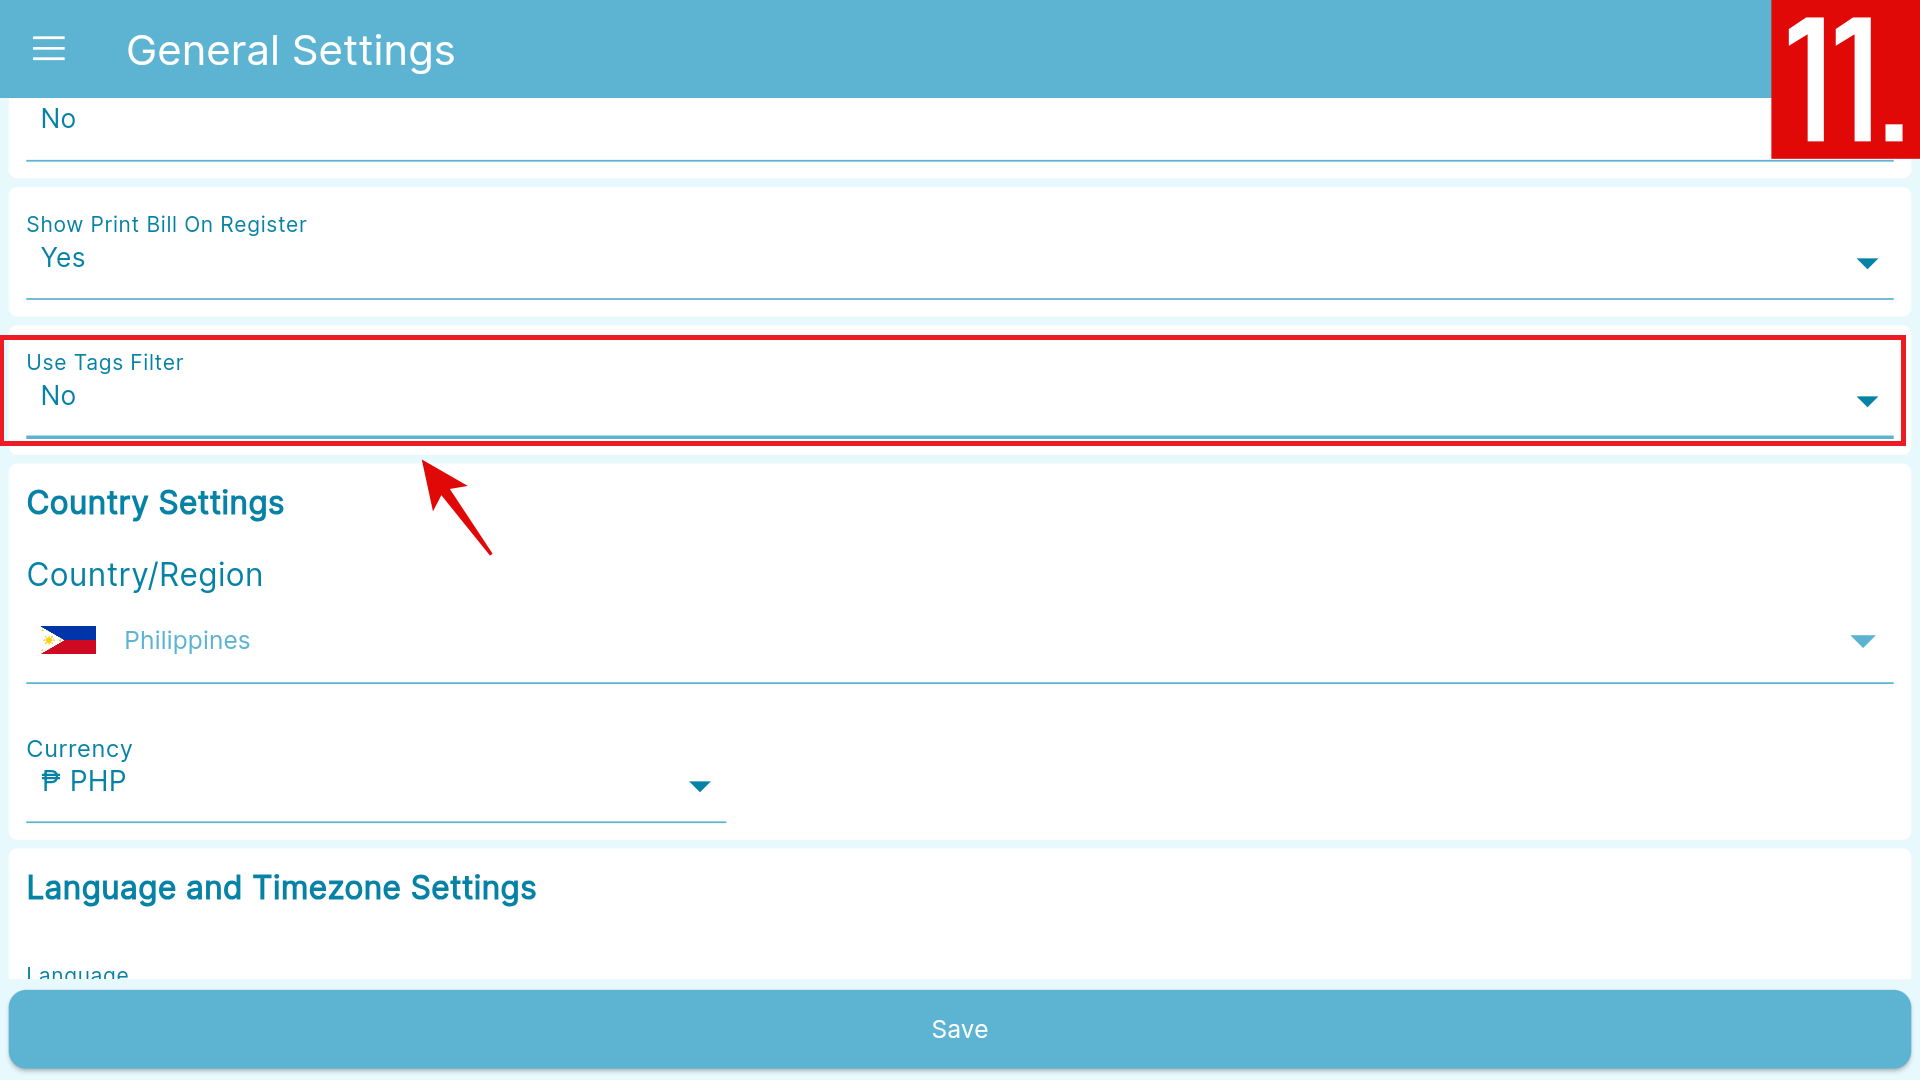
Country settings
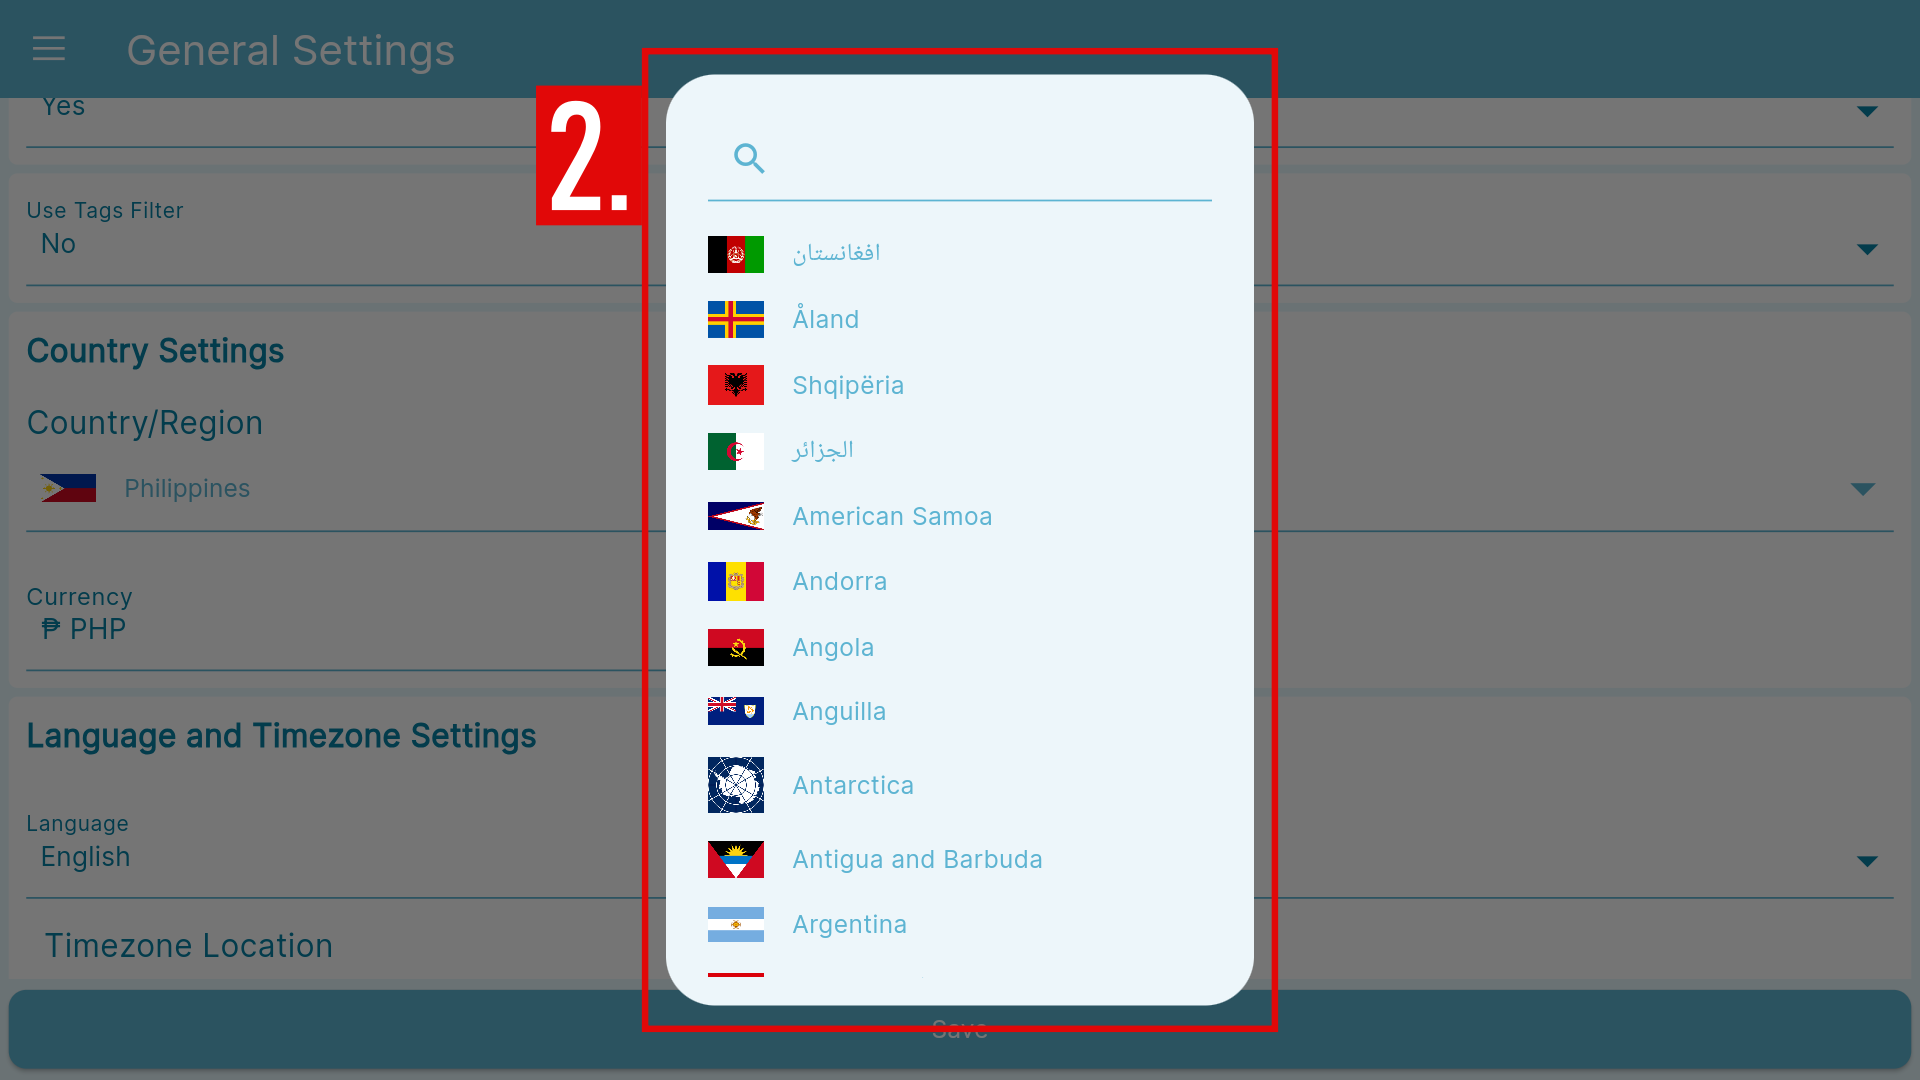
- You can choose your Country/Region by tapping the dropdown icon.
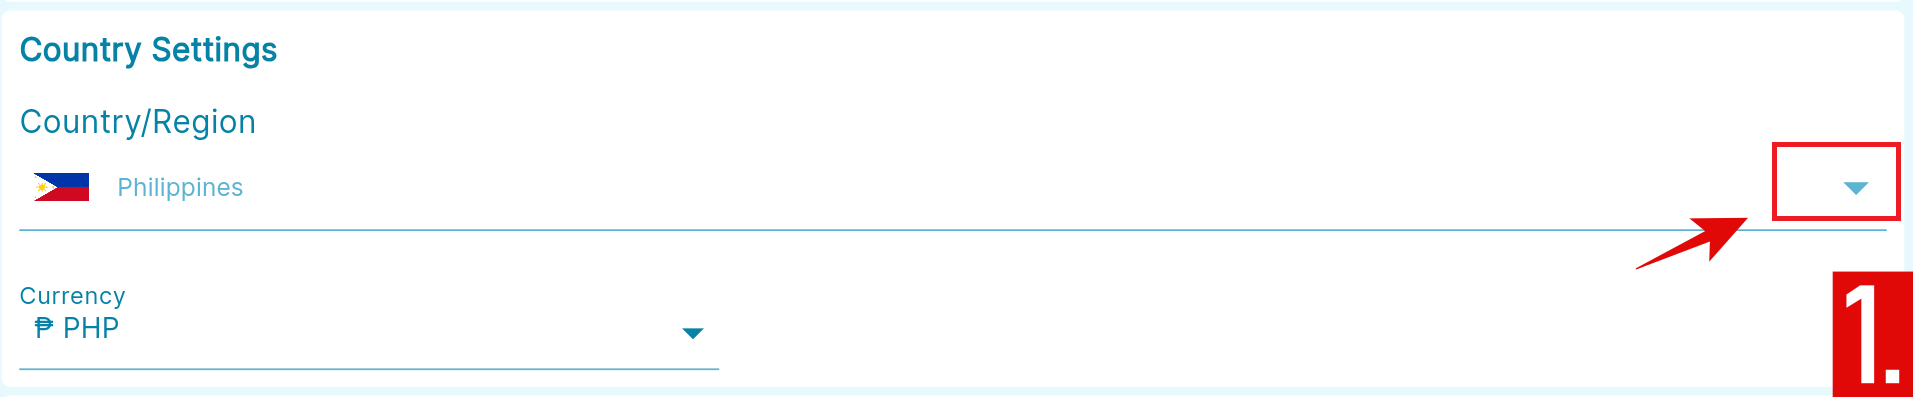
- Search your store's country of origin, and watch as the corresponding currency automatically set.
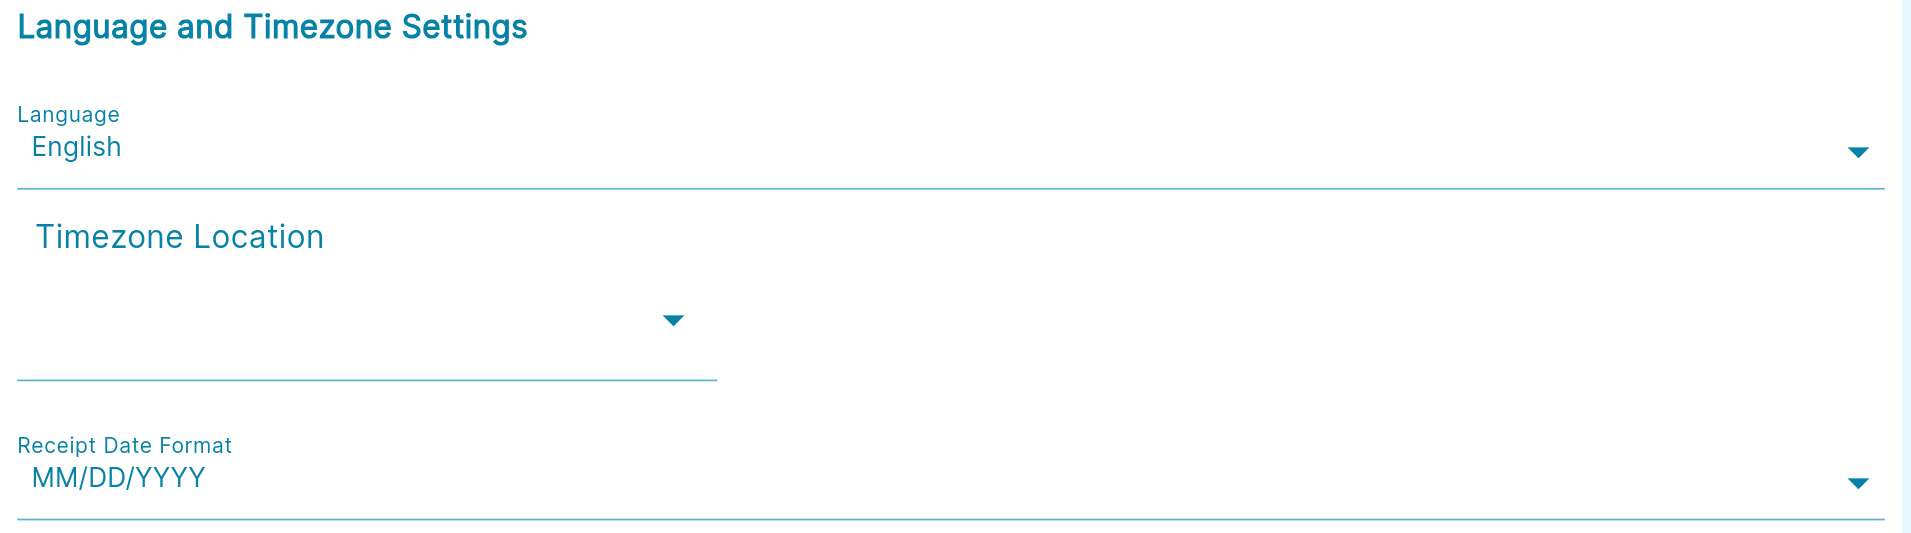
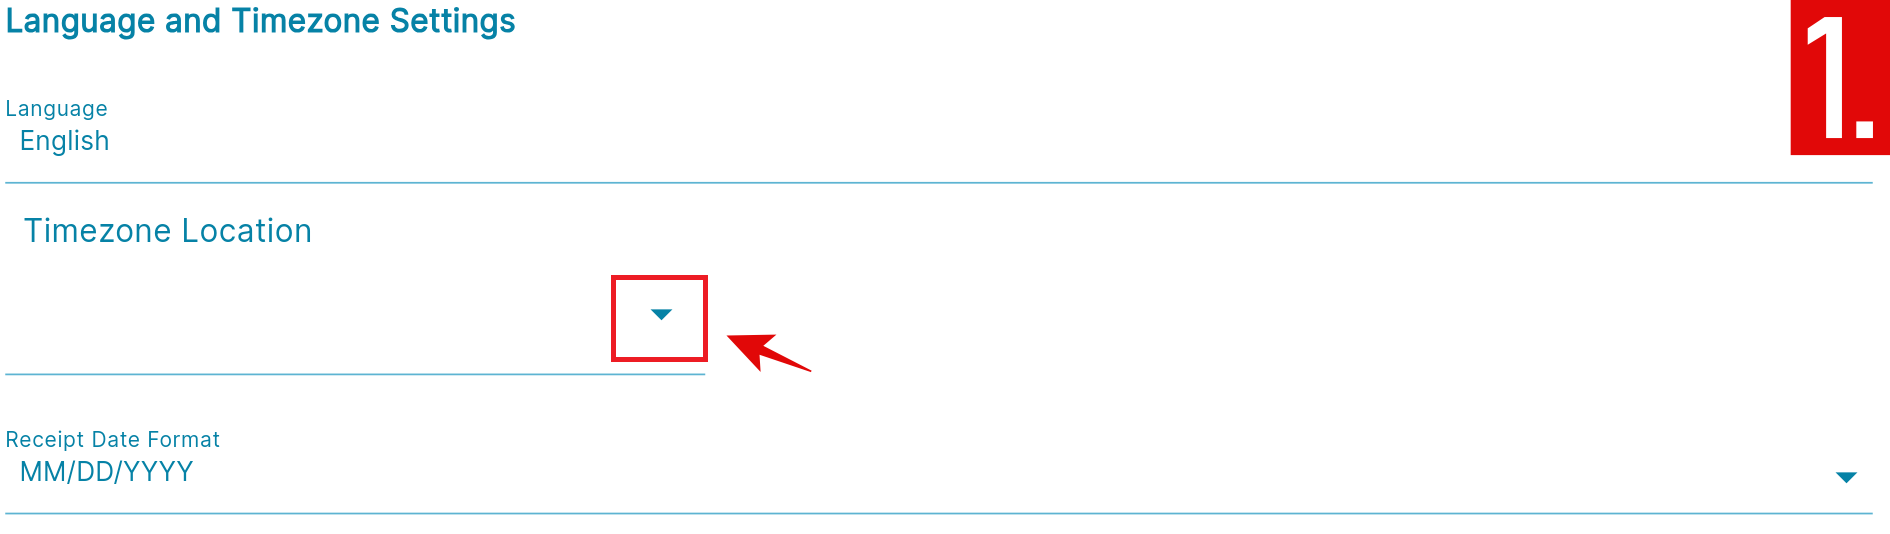
Language and Timezone Settings
On the Language and Timezone Settings you can change to your preferred Language, set your Time zone according to your location and Receipt date format.
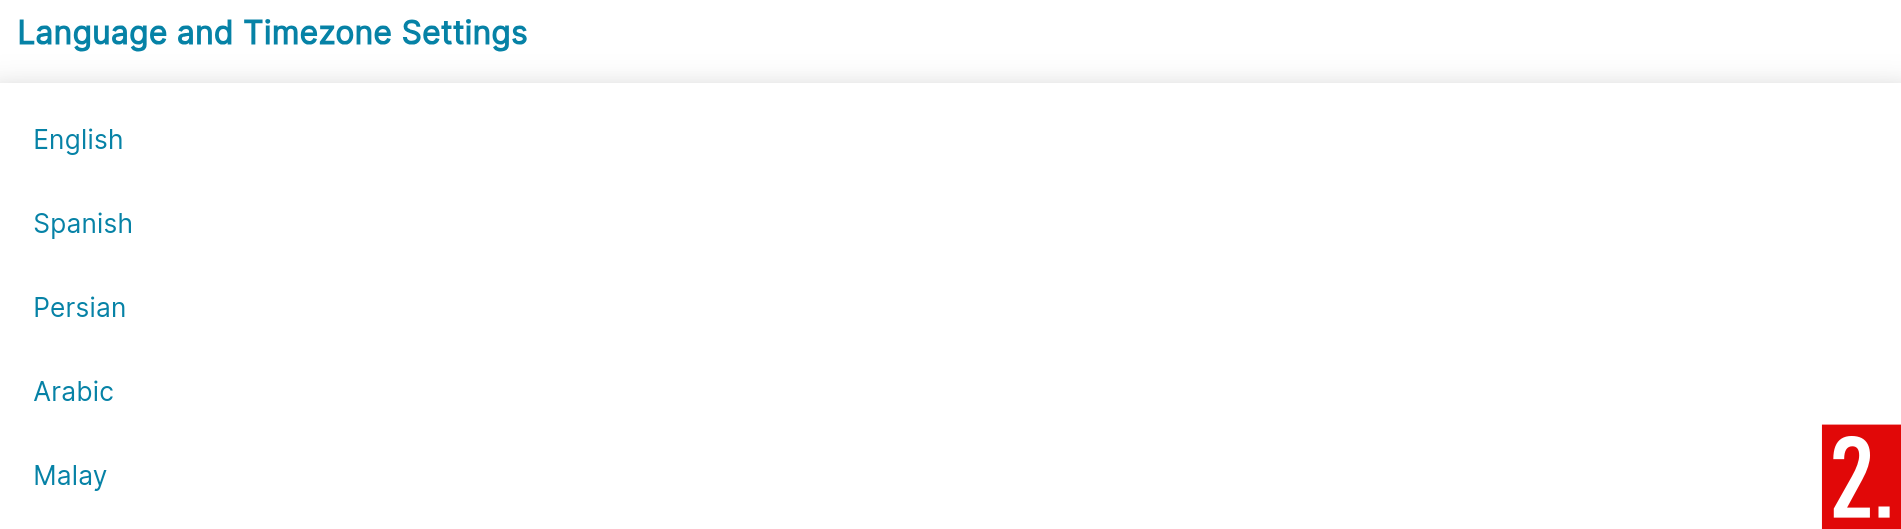
To change the language to your preference:
- Tap the dropdown icon in Language.
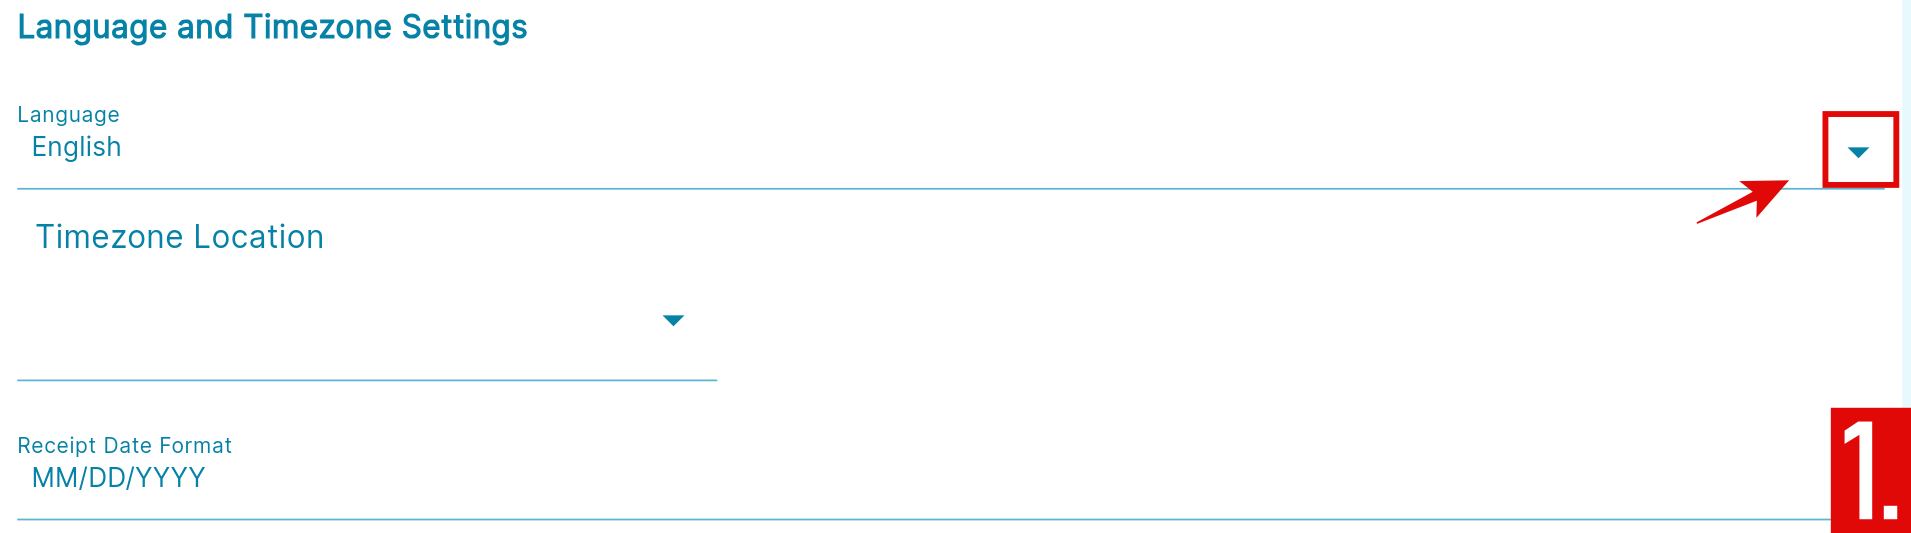
- Choose and select your preferred language.
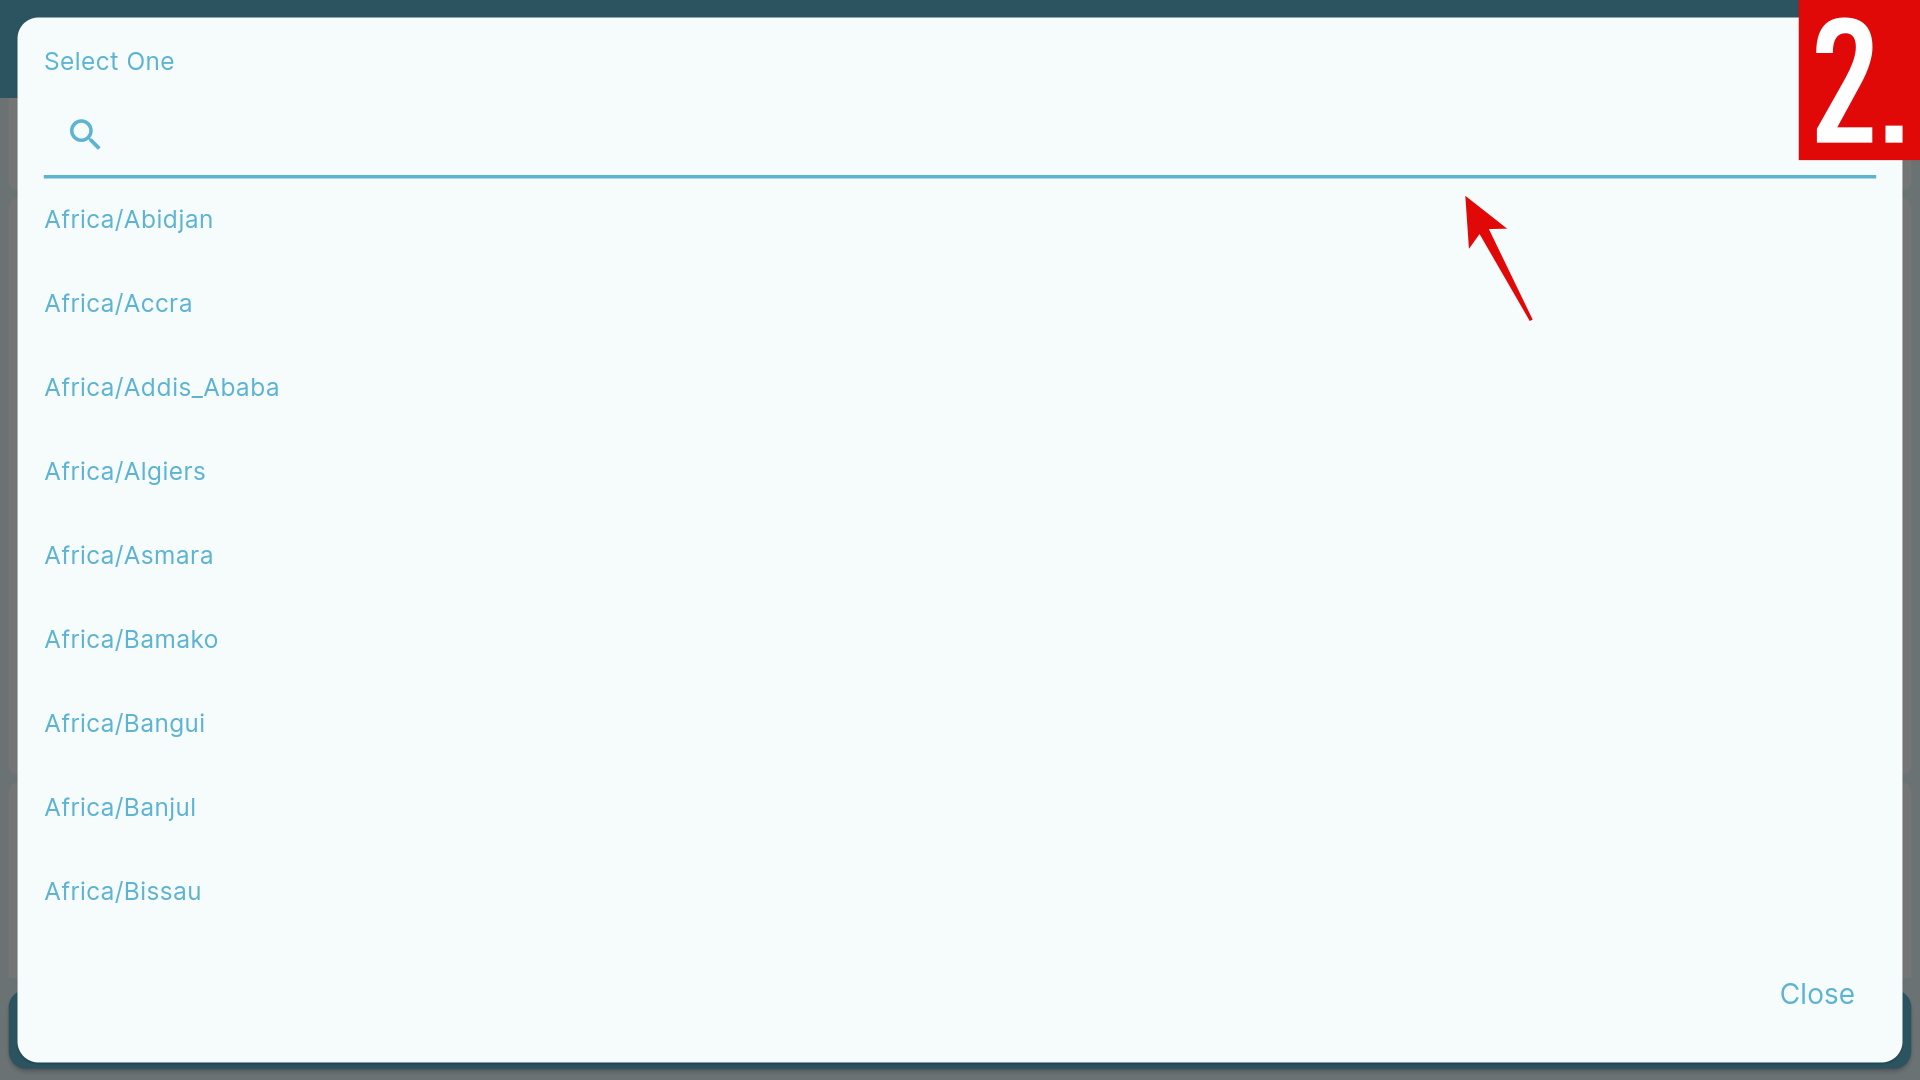
To change the Timezone Location:
- Tap the dropdown icon under Timezone Location.
- Select your timezone based on your location quickly by using the search option for faster results.
To customize your preferred receipt date format:
- Tap the dropdown icon.
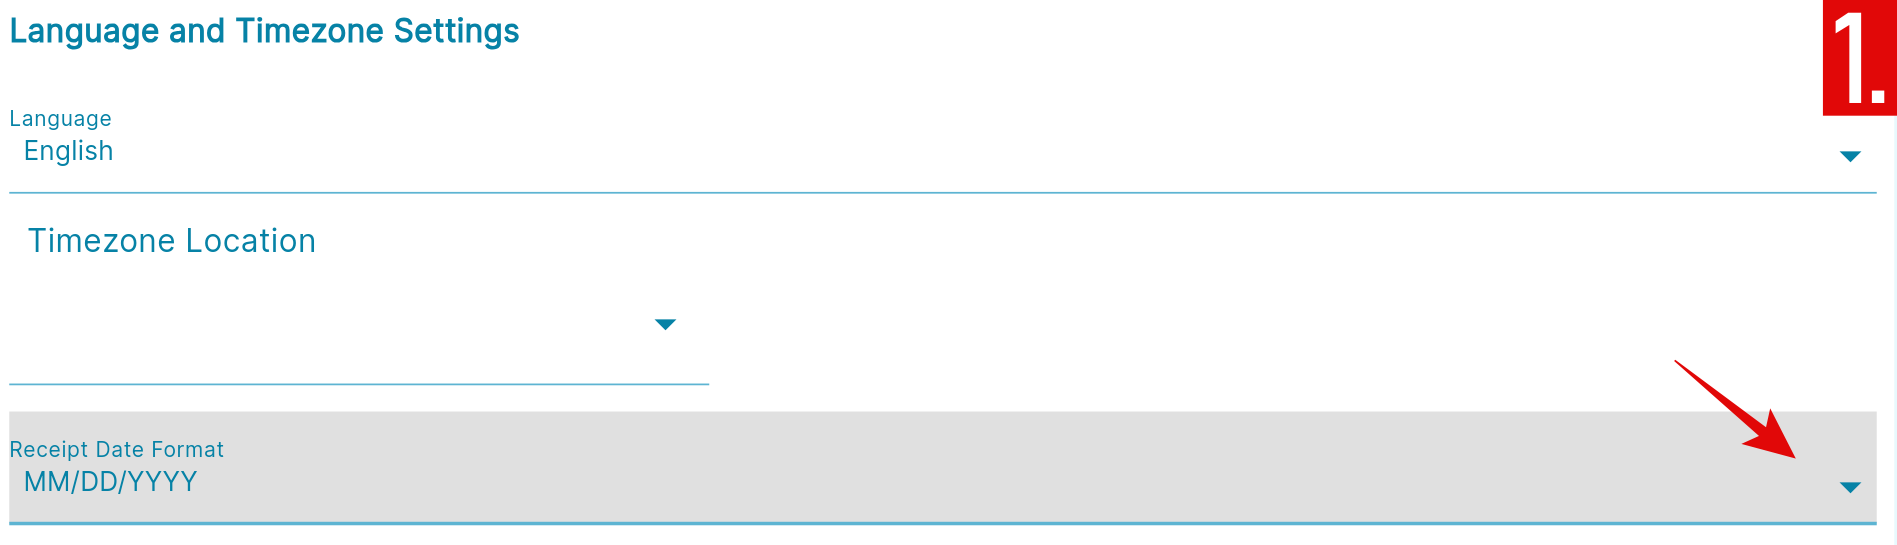
- Select from the choices available.

Receipt Settings
On the Receipt settings you can change the appearance of your receipt, from Receipt Logo to Company Address.
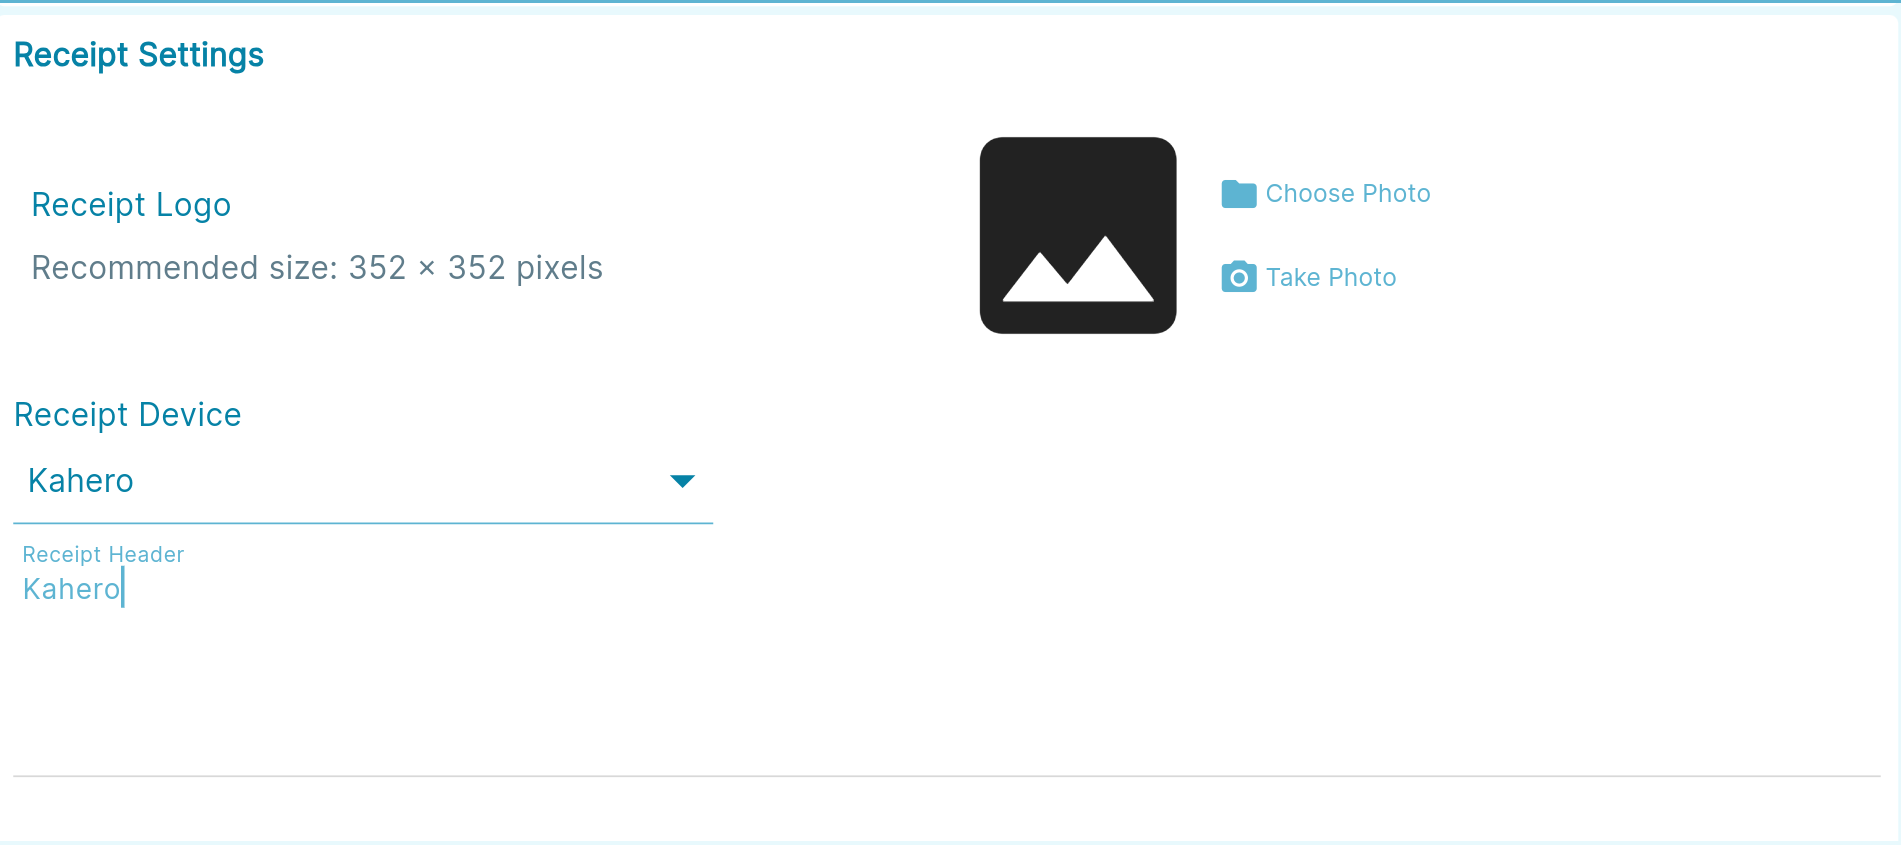
To customize your Receipt Logo:
- Under Receipt Logo:
a. If you want to upload an image from your device, tap Choose Photo.
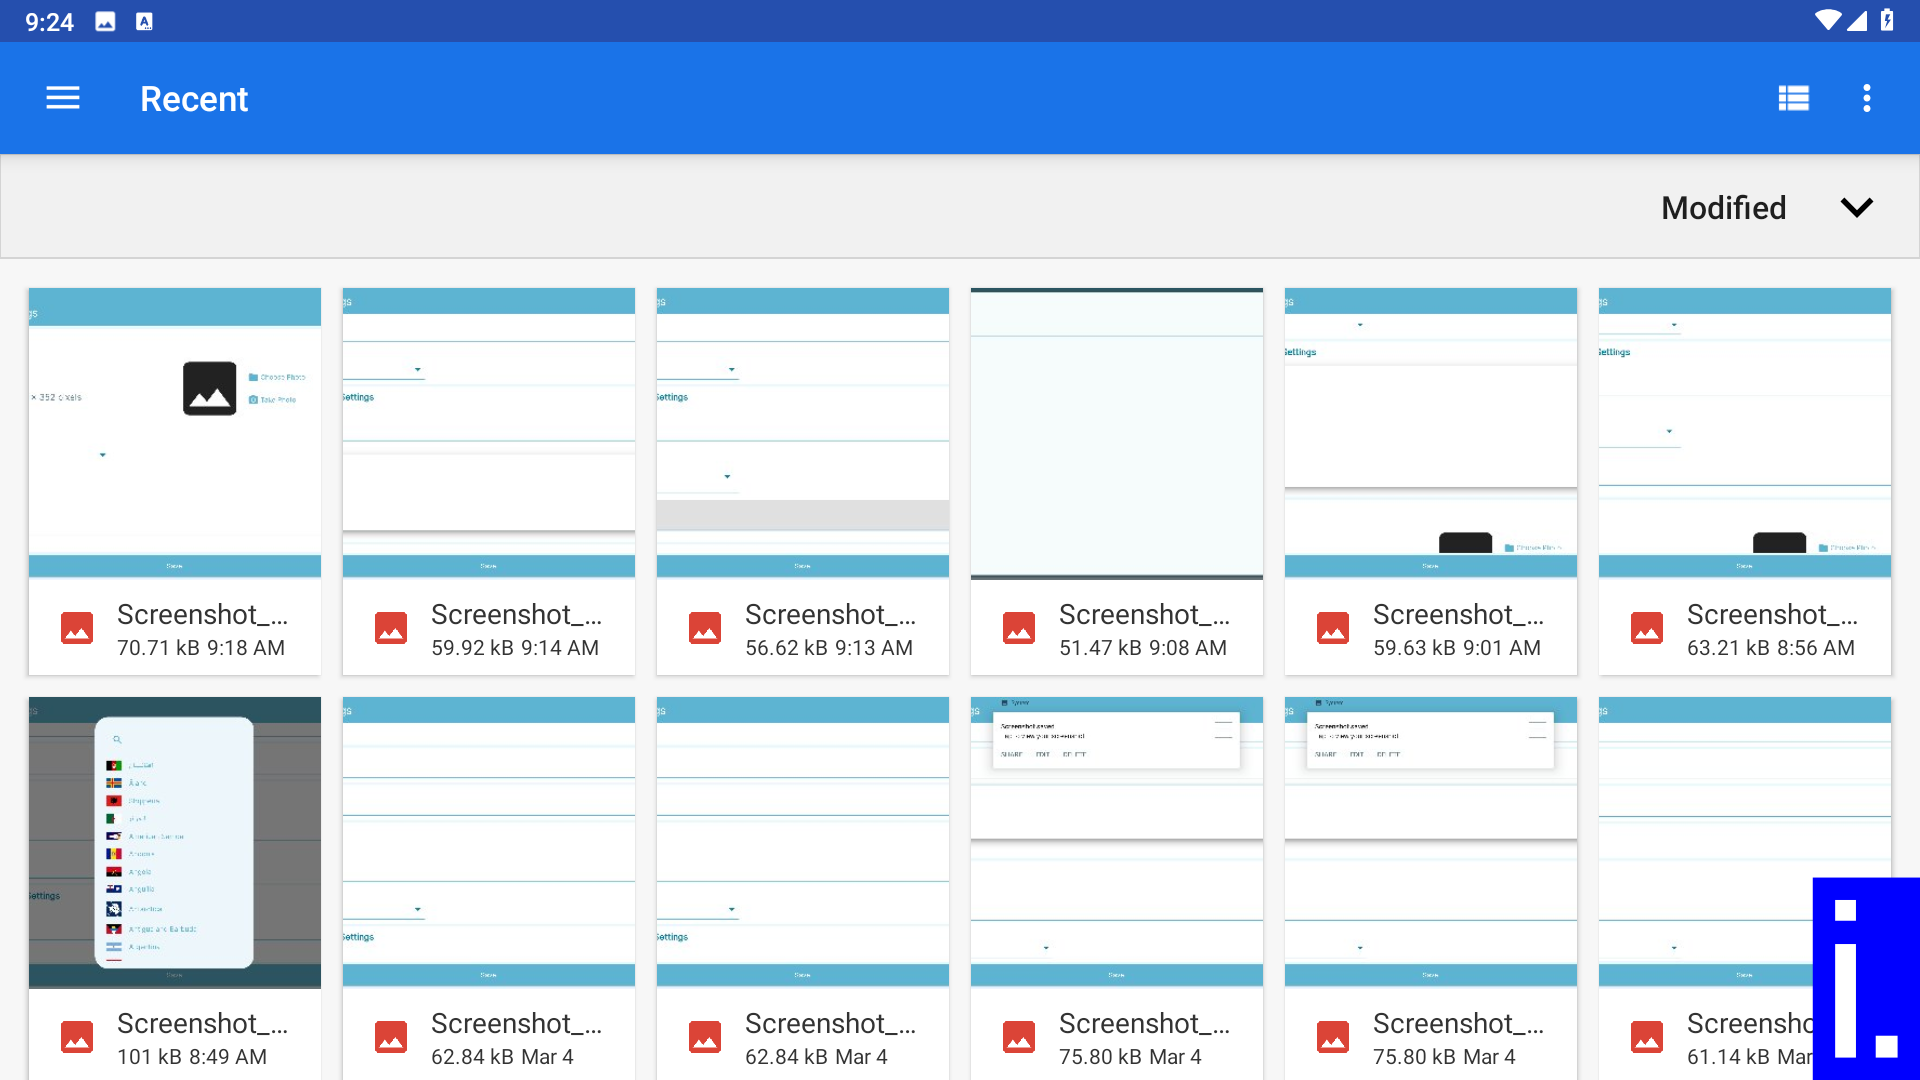
i. Your device's gallery will open.
ii. Choose an image that will be printed as your receipt logo.
b. If you want to take a photo using your device, tap Take Photo.
i. Your device's camera will open.
ii. Take a photo to use as your receipt logo.

To update the header of your receipt:
- Enter your desired Receipt Header into the blank space provided.

- Do the same with Receipt Footer and your Company Address.
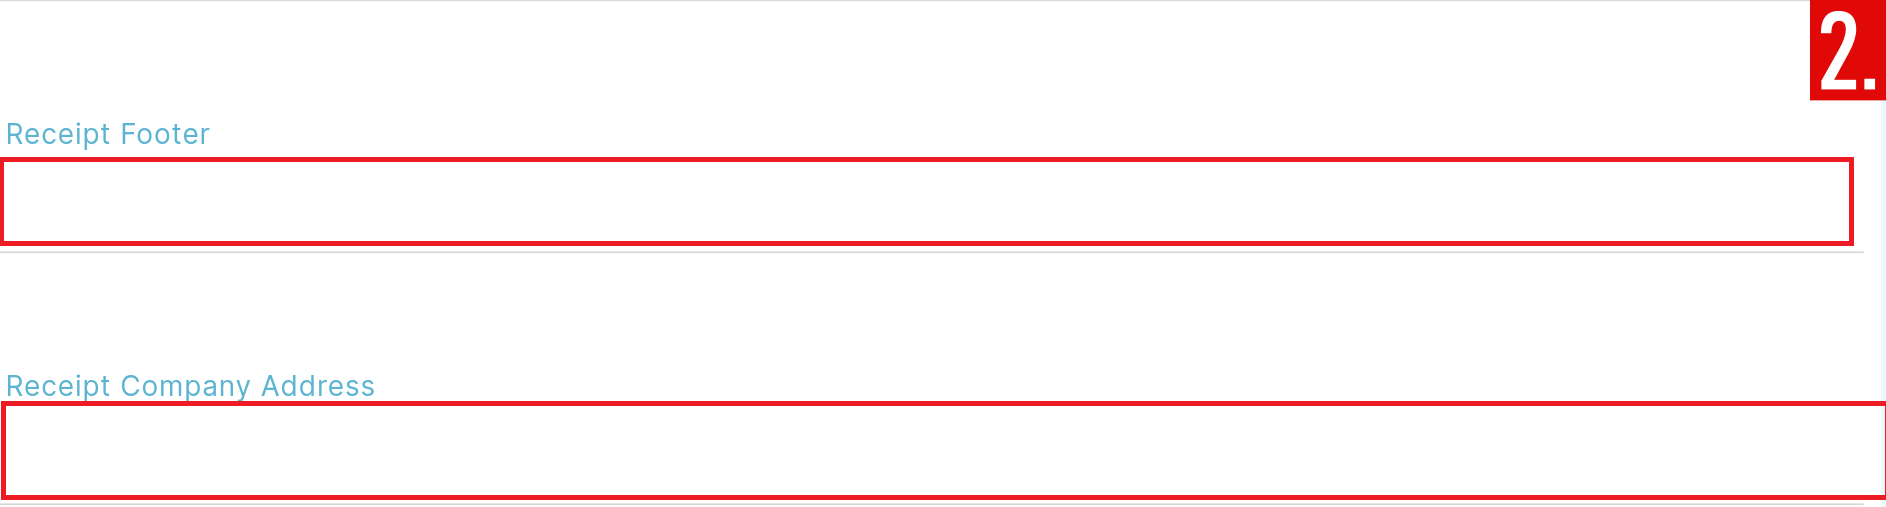
- Tap Save to save all the changes made.
